2021 Work From Home Desk Setup
A guide through my 2021 Work From Home desk setup and personal workspace.
Albin Groen
Dec 24, 2020
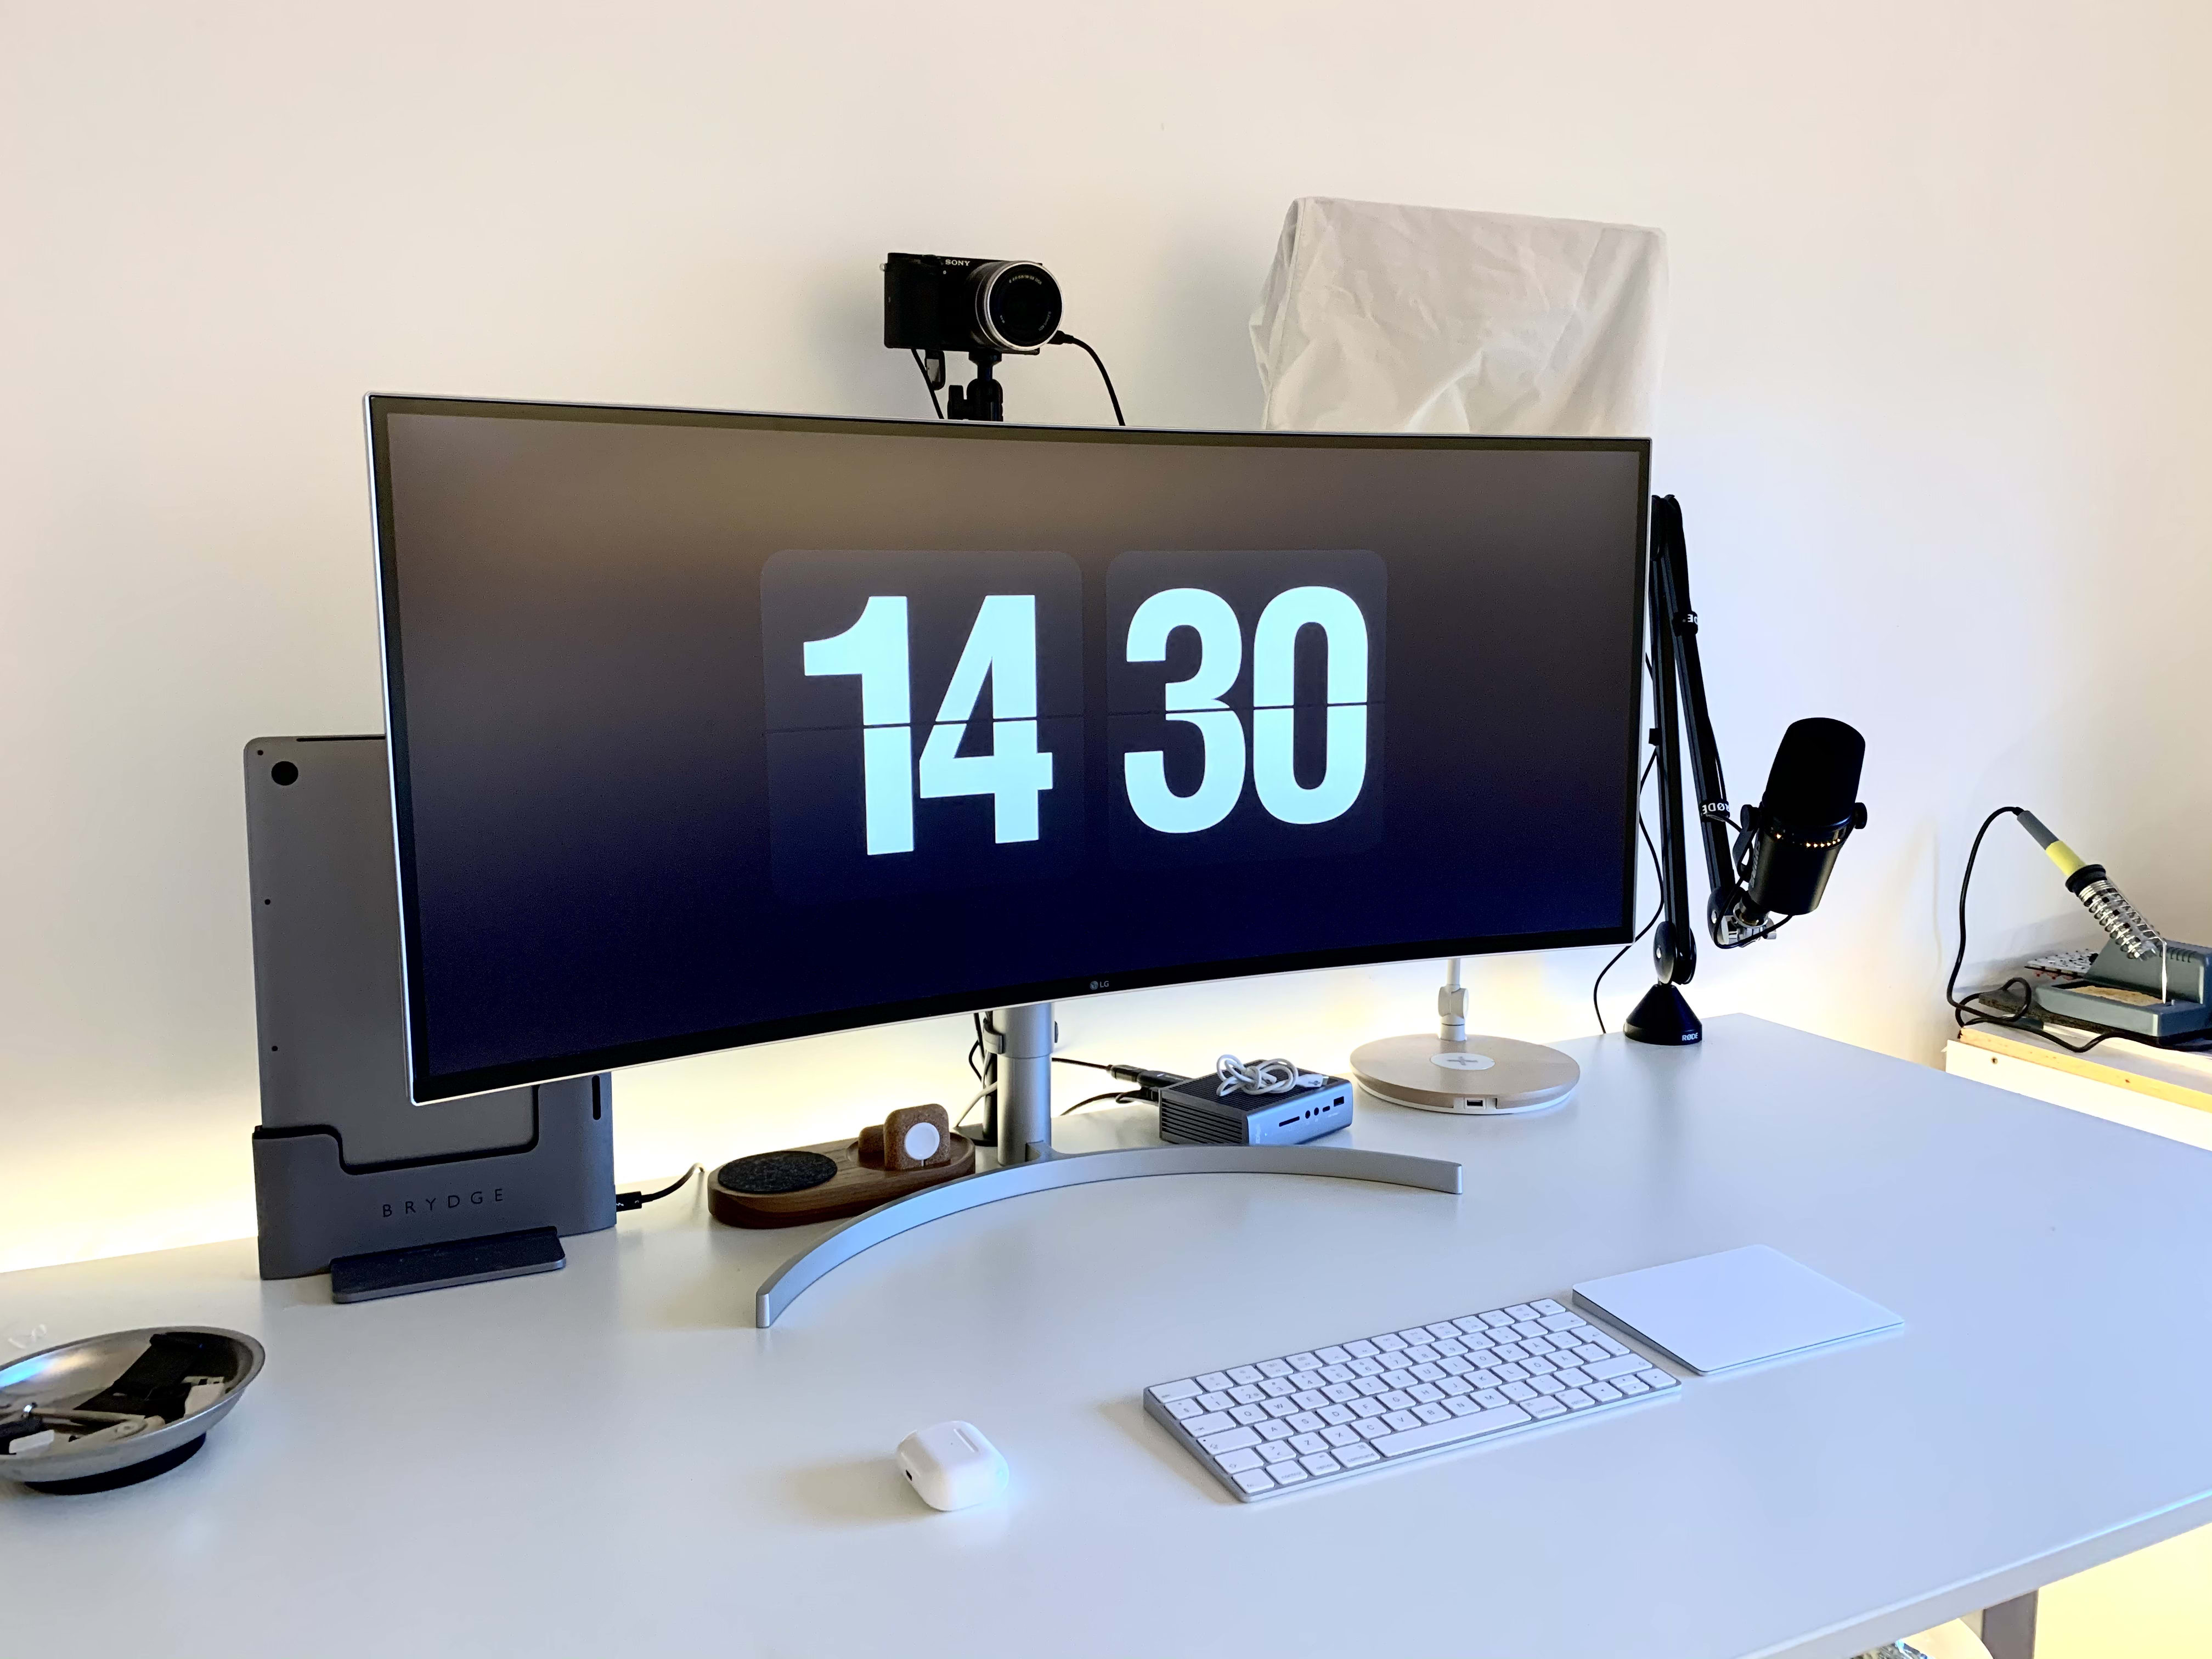
During the year of 2020 I have been working from home the majority of the time. This has lead me to gradually improve my workspace. In this post I want to go through every part of this workspace and explain my thought behind it all.
Table of contents
--
Hardware
I have accumulated these products over many many years and it's certainly not like I've gone out and bought it all in one go.
I also want to preface this article with that I'm incredibly fortunate and grateful to be in the position that I am, to be able to afford all of this. I have worked very hard to get to this point, and I have bought everything with my own hard earned money.
Now, let's go over all the products on my desk. Starting with the most important one. The computer.
--
Computer
I started using Mac computers around 5 years ago. This was when I was very into web and app design. I used to use Adobe XD on a Windows computer, but when I discovered Sketch and realized that it was only available for Mac, I bought my first Mac.
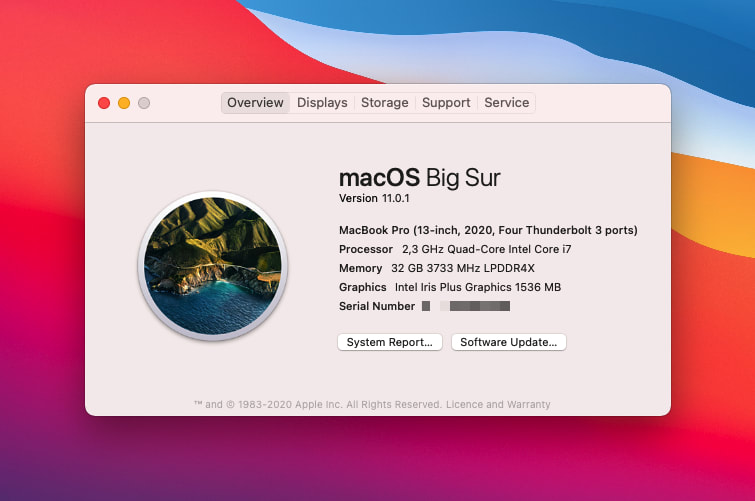
I now use a 2020 Space Gray MacBook Pro 13 inch with 32GB RAM and a Quad Core Core i7 processor. I specked this laptop with 500gb of SSD storage since I knew I was going to keep this laptop for quite some time. I run MacOS Big Sur on this machine and I am very happy with it.

Laptop stand
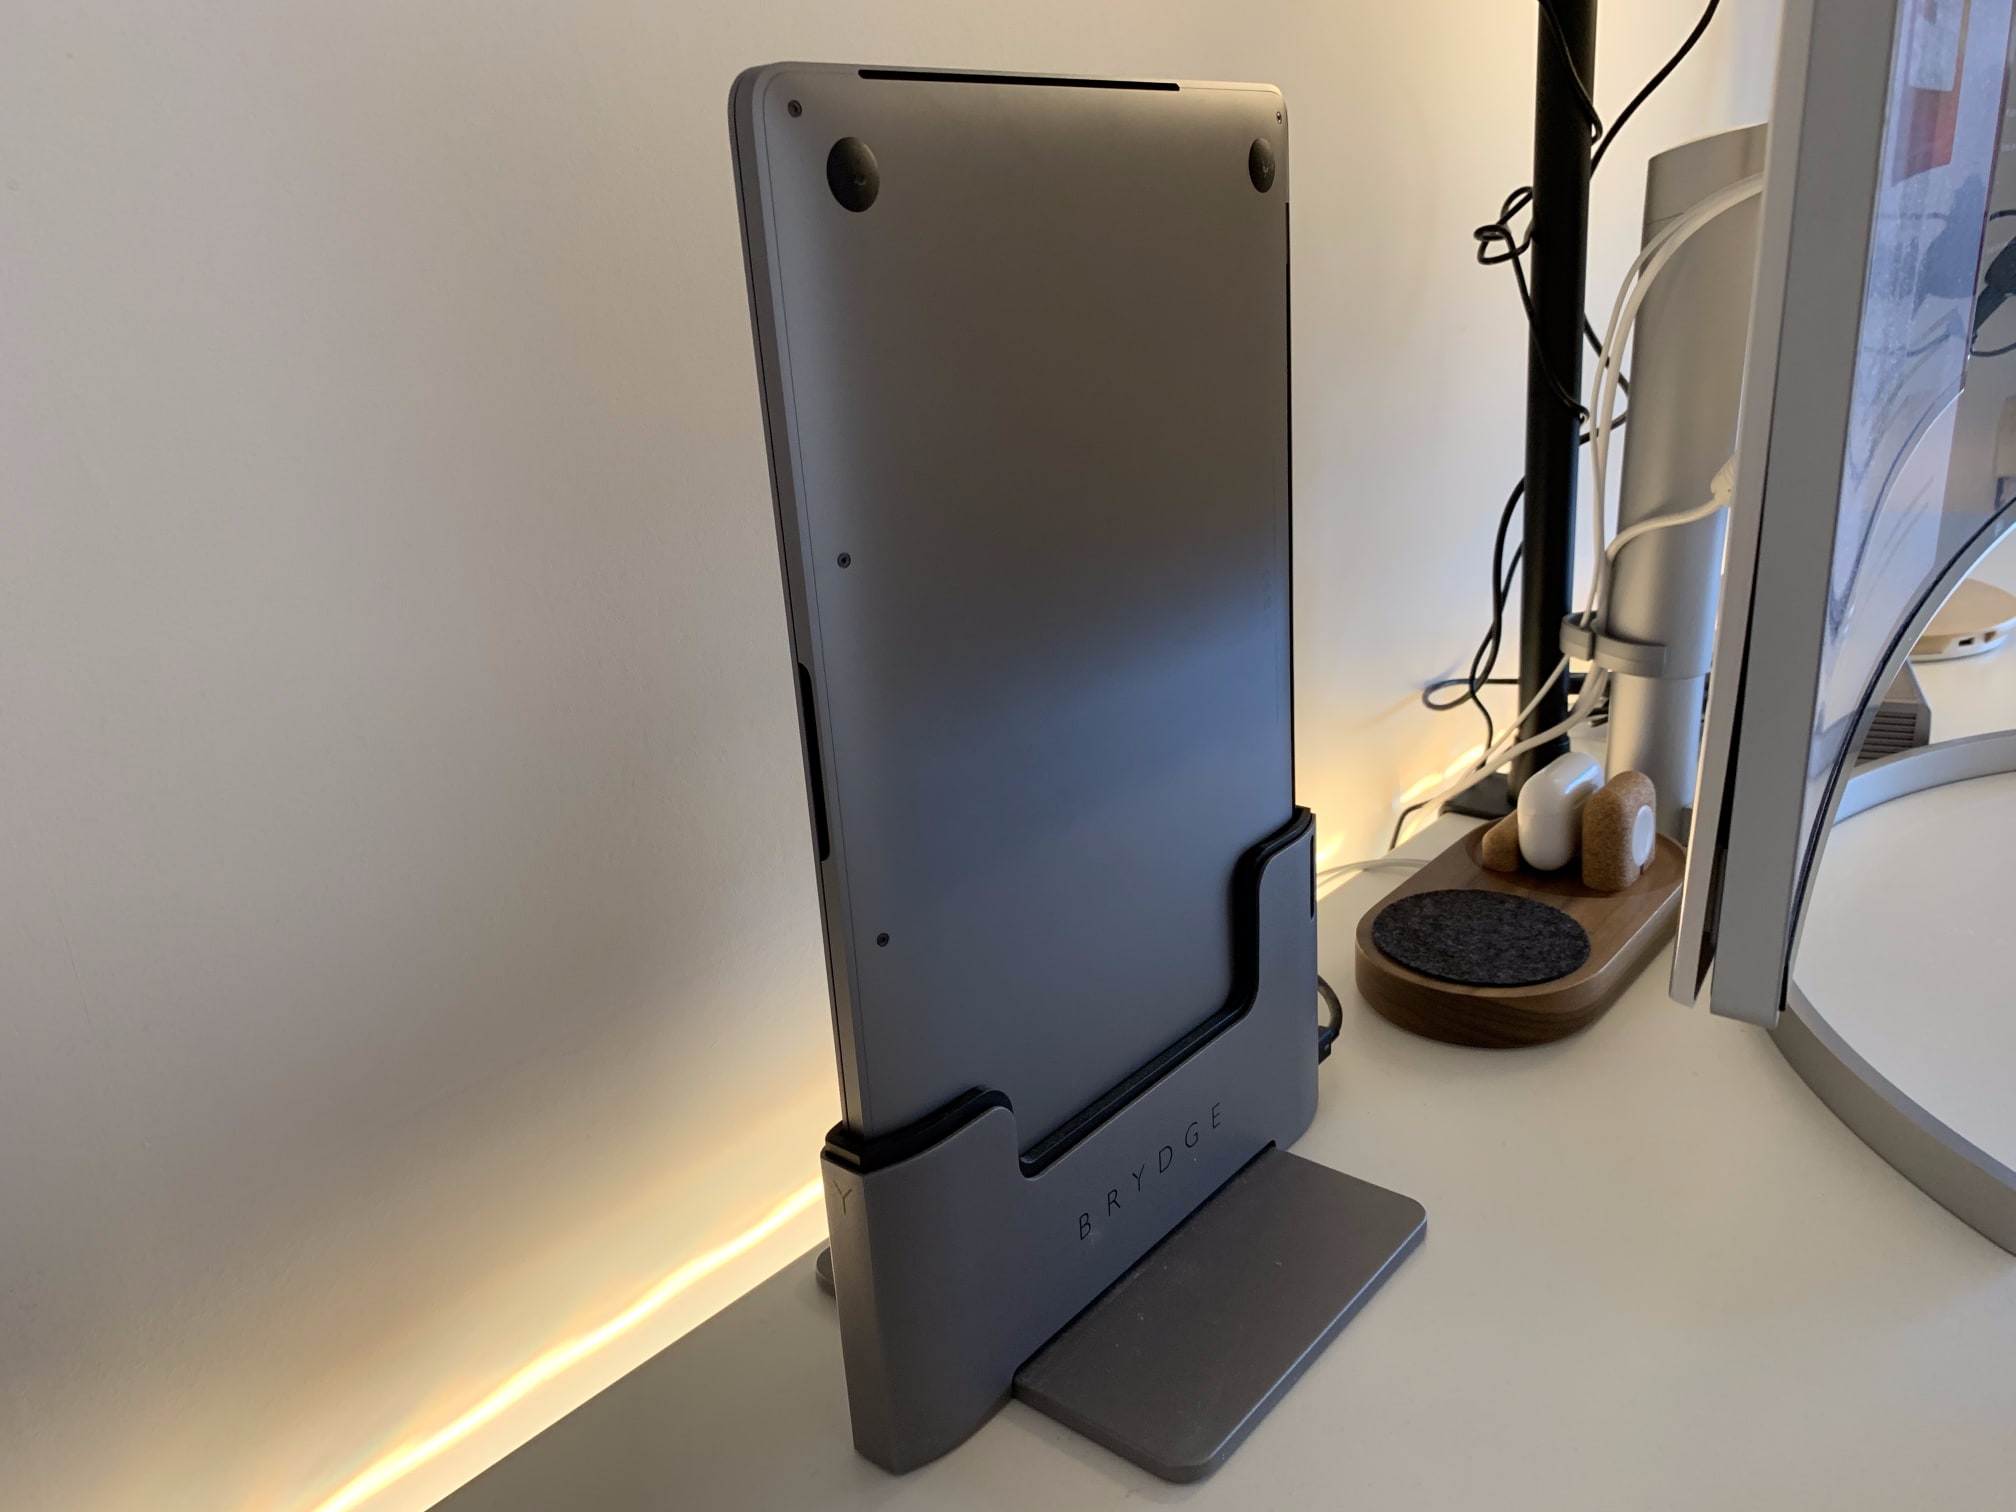
The stand I use to house the laptop is the MacBook Pro Vertical Dock from Brydge. It's very convenient because you just have to drop your computer in there, and as long as the dock is connected to your monitor or a Thunderbolt dock, you can start working directly. This is incredibly handy if you have a personal computer alongside a work computer.
Dock
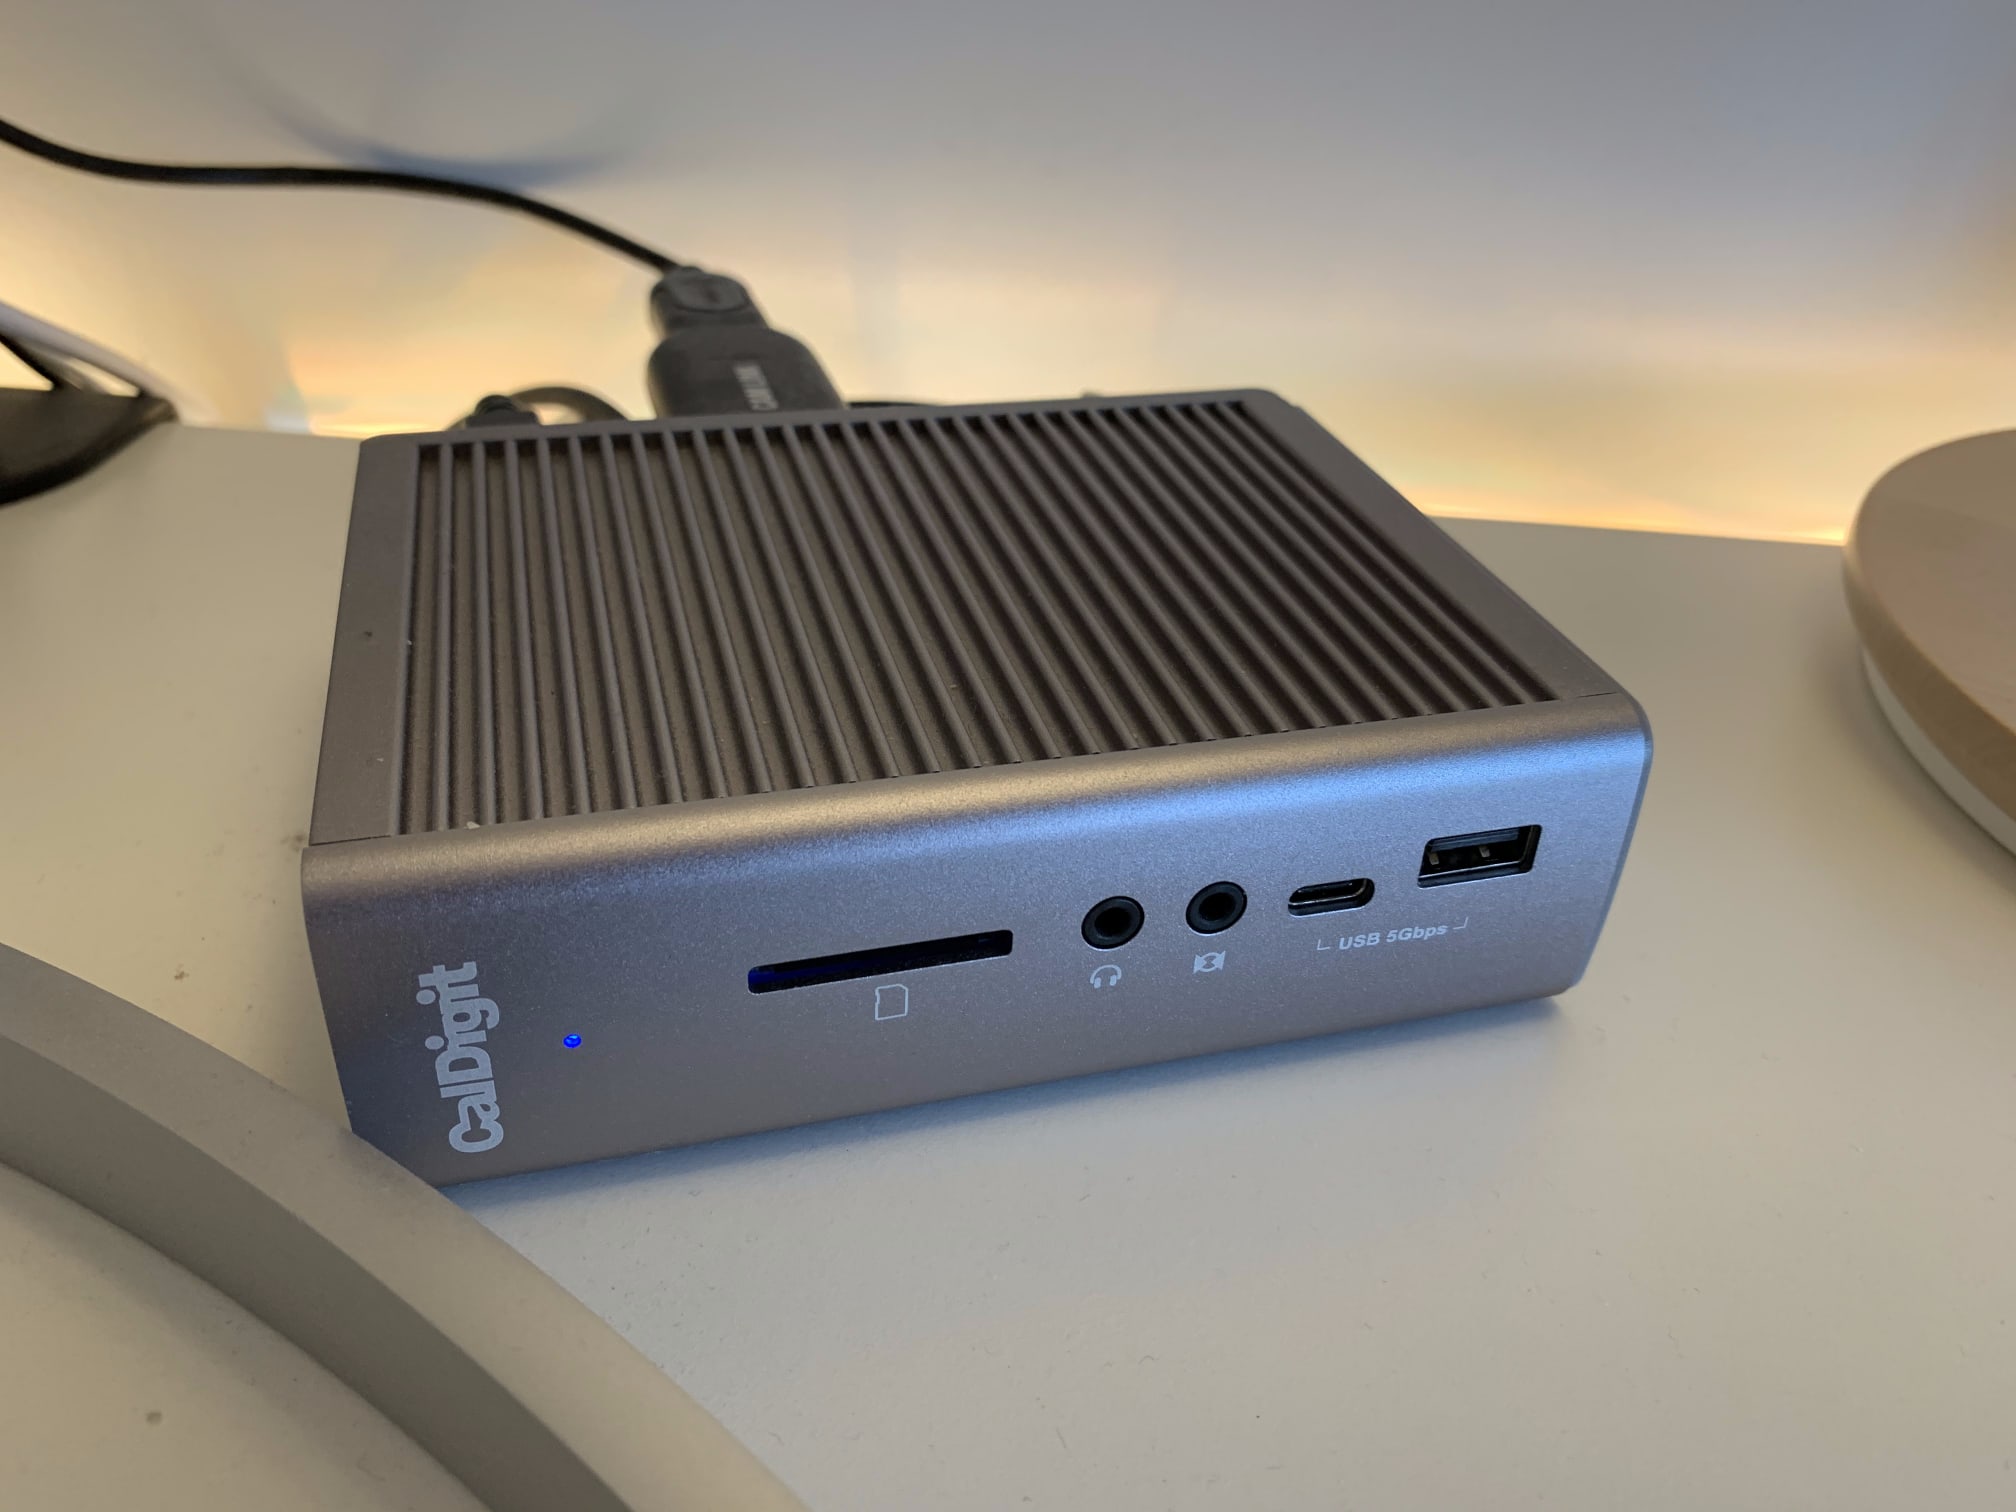
The dock I use to power it all is the Caldigit TS3+ Thunderbolt Dock. I have tried countless Thunderbolt docks, and this is by far the best one I've come across. It's got more than enough ports, it's sleek looking, and it doesn't take up too much space and also doesn't make any noise whatsoever.
--
Monitor
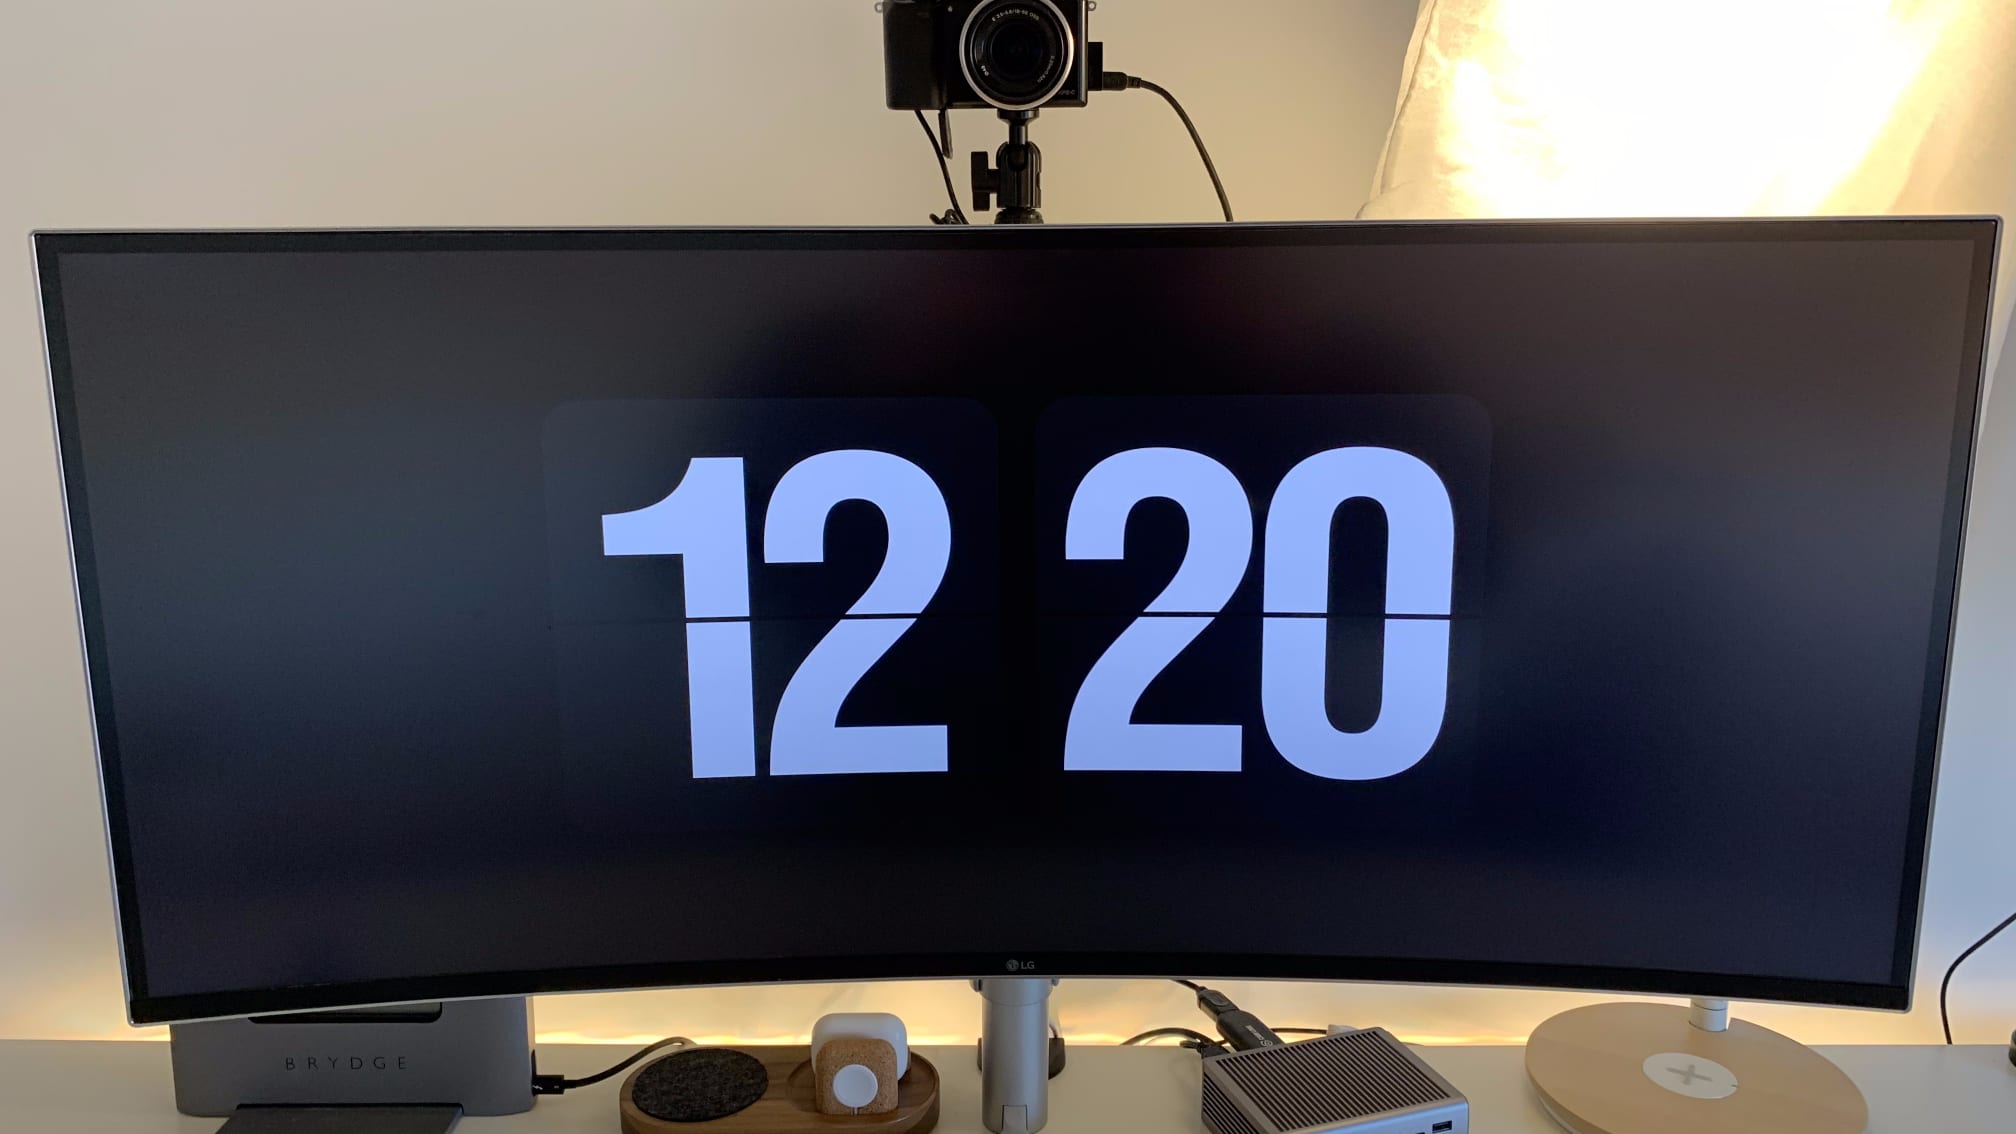
The monitor I use is the LG 38WN95C-W. It's a slightly curved 38 inch ultrawide monitor with a maximum resolution of 3840x1600. It has HDR capabilities (which I never use), built in speakers, and a very bright screen. It's the perfect monitor for me, since I despise the use of dual monitor, because of the massive amount of cables necessary, and the annoying borders.
It connects via Thunderbolt 3 and can even charge the MacBook if you would like to. I have tried monitors which have higher resolutions, like the Ultrafine lineup, but then you have to compromise on screen size. I think this is a really good monitor and I will keep it for quite some time. I might seem expensive to many, but I can assure you that you won't be disappointed.
--
Camera
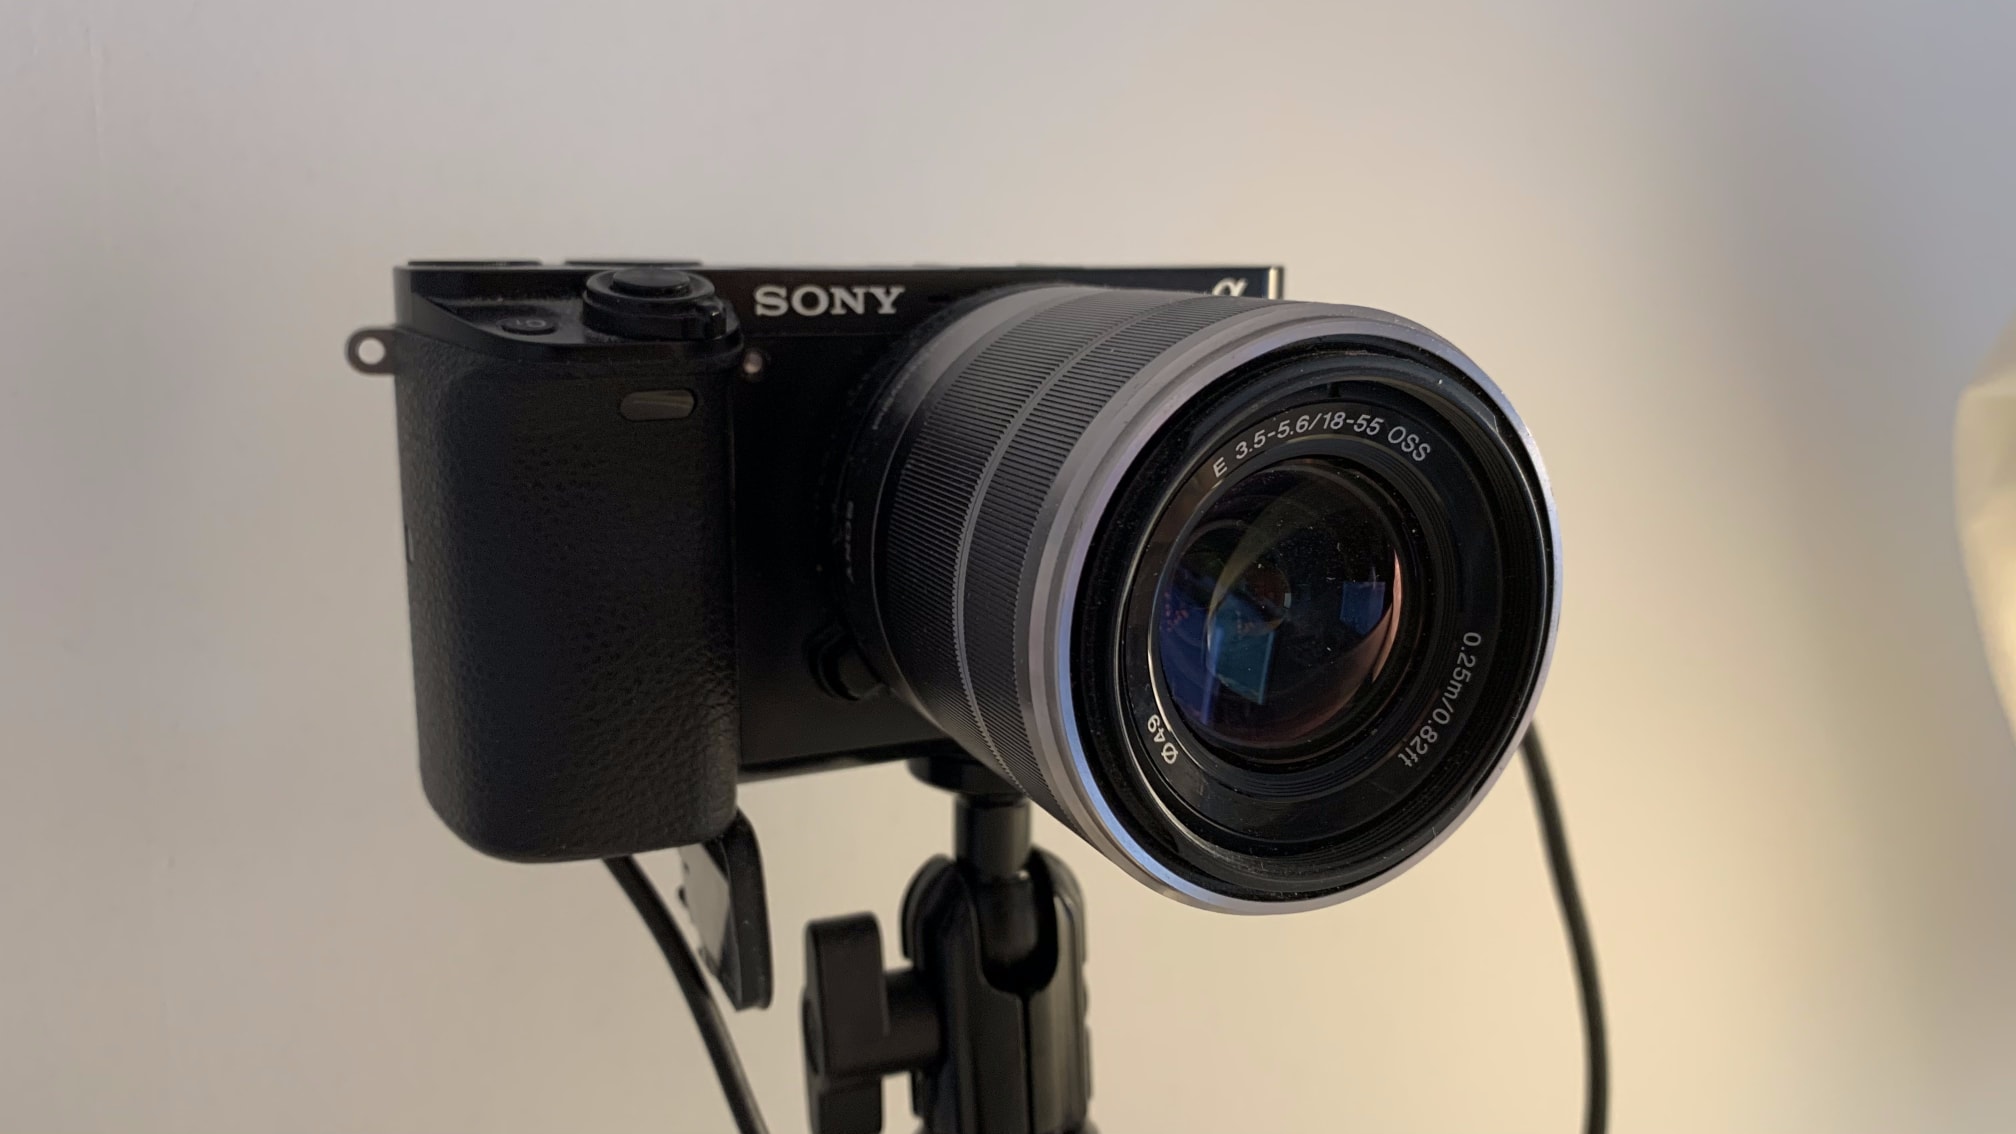
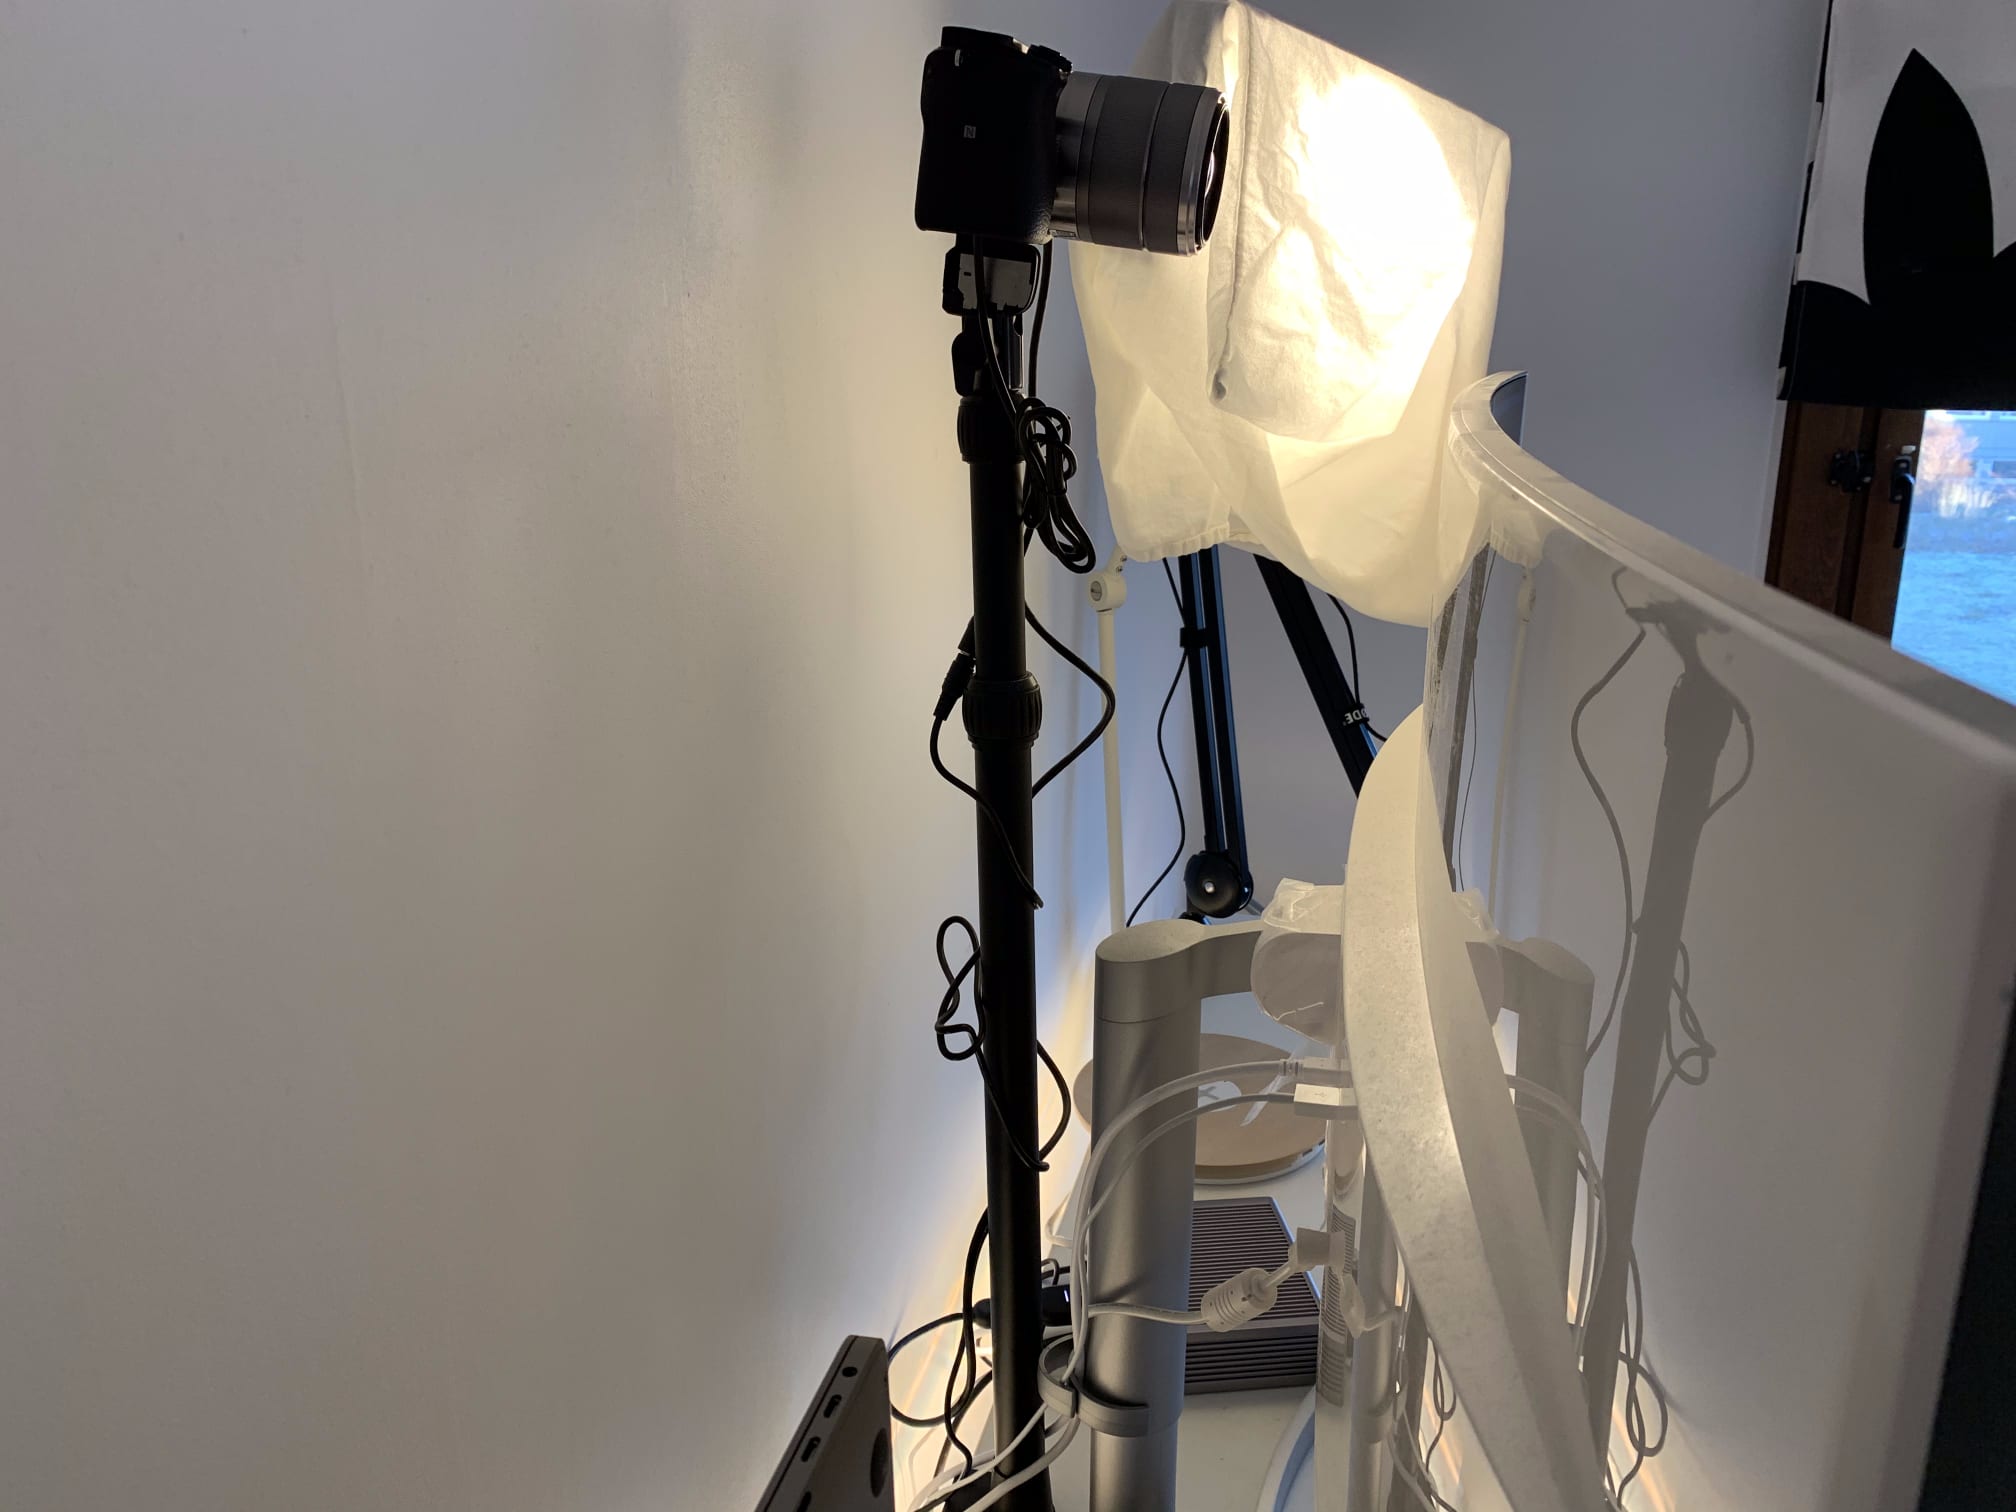
A couple of months ago I decided to replace my Logitech Brio webcam with a real mirrorless camera. This wasn't that easy, but when I finally completed the setup, the quality of my video in online meetings improved substantially. The camera is the Sony A6000 and with it I use the Sony 3.5-5.6/18-55mm lens. This combo is a fairly affordable setup that creates a very nice picture with a slight bokeh in good conditions.
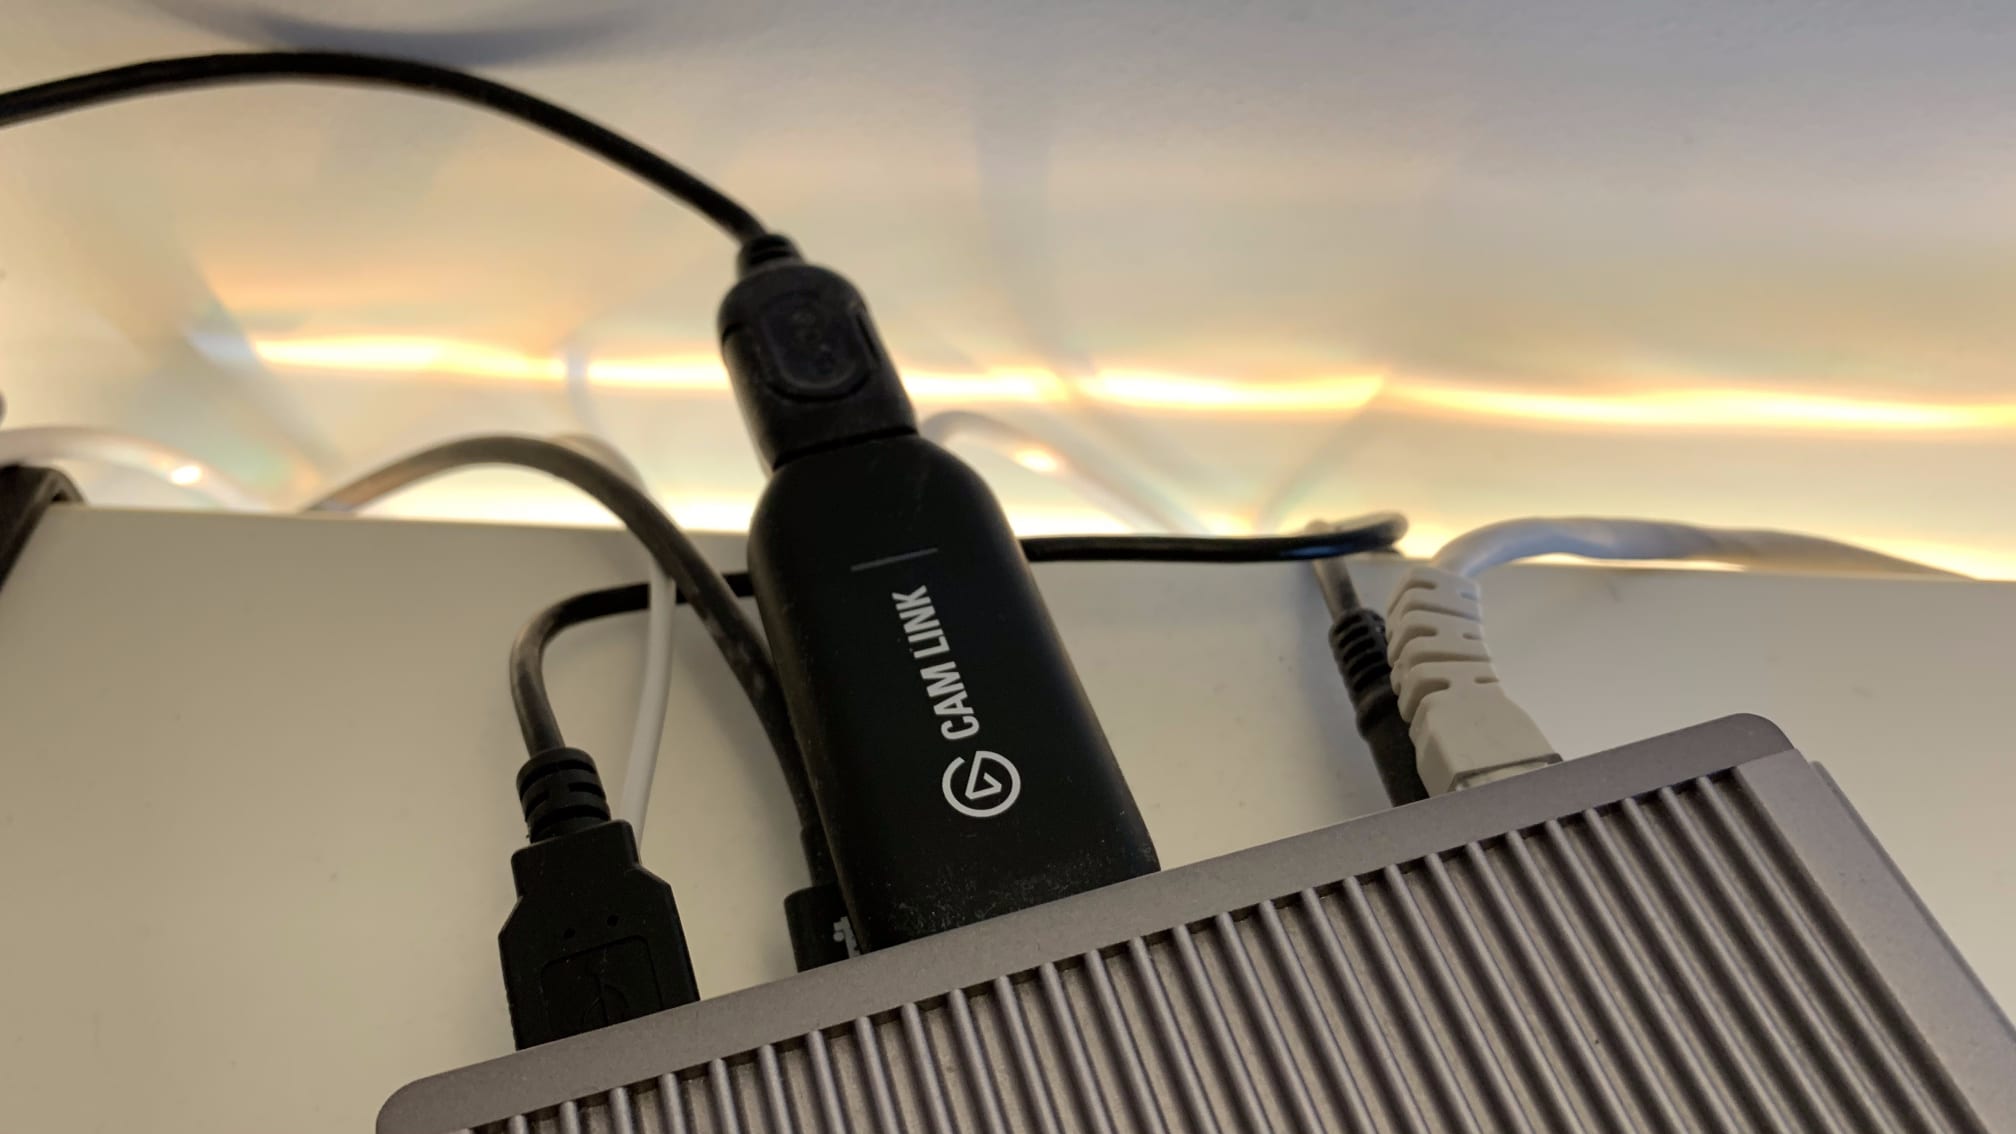
To connect the camera to my computer I use the Camlink 4K from Elgato. It comes in at a hefty price, but it has worked flawlessly for me, and it outputs very good quality footage. To connect this from your computer to your camera you need a Micro/Mini HDMI to full size HDMI cable (depending on your camera).
To make sure the camera has power at all times I use this dummy battery that plugs into a outlet and goes into the battery slot of the camera. This makes sure the camera never runs out of battery and is ready to be used at all times.
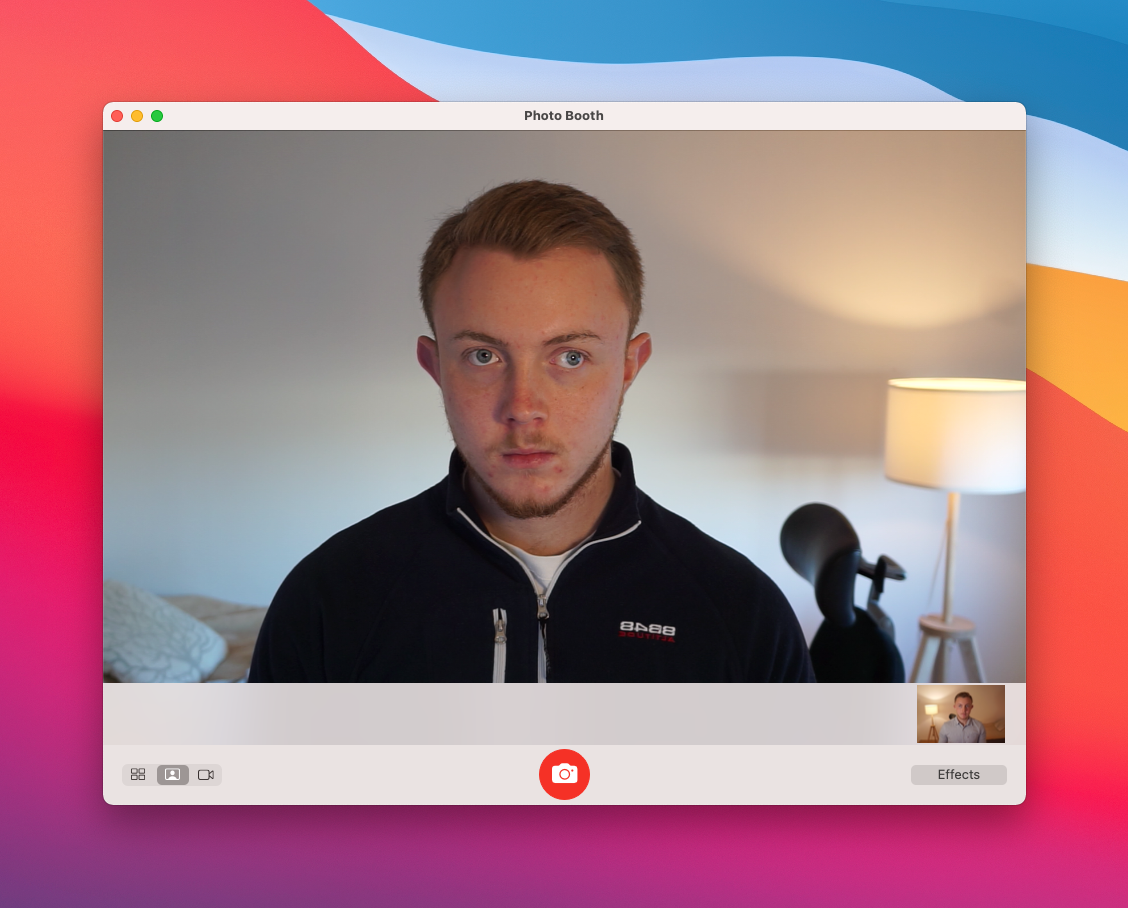
Here's what the resulting image looks like when using a key light.
Tripod
To mount the camera to my desk I use the Elgato Multi Mount Master Mount. It clamps on to my desk and has a tripod head at the end, where I mount my camera. This is a very flexible way of mounting your camera, because you can practically mount it anywhere you want. It's height adjustable, and the ball head that can swivel in any direction.
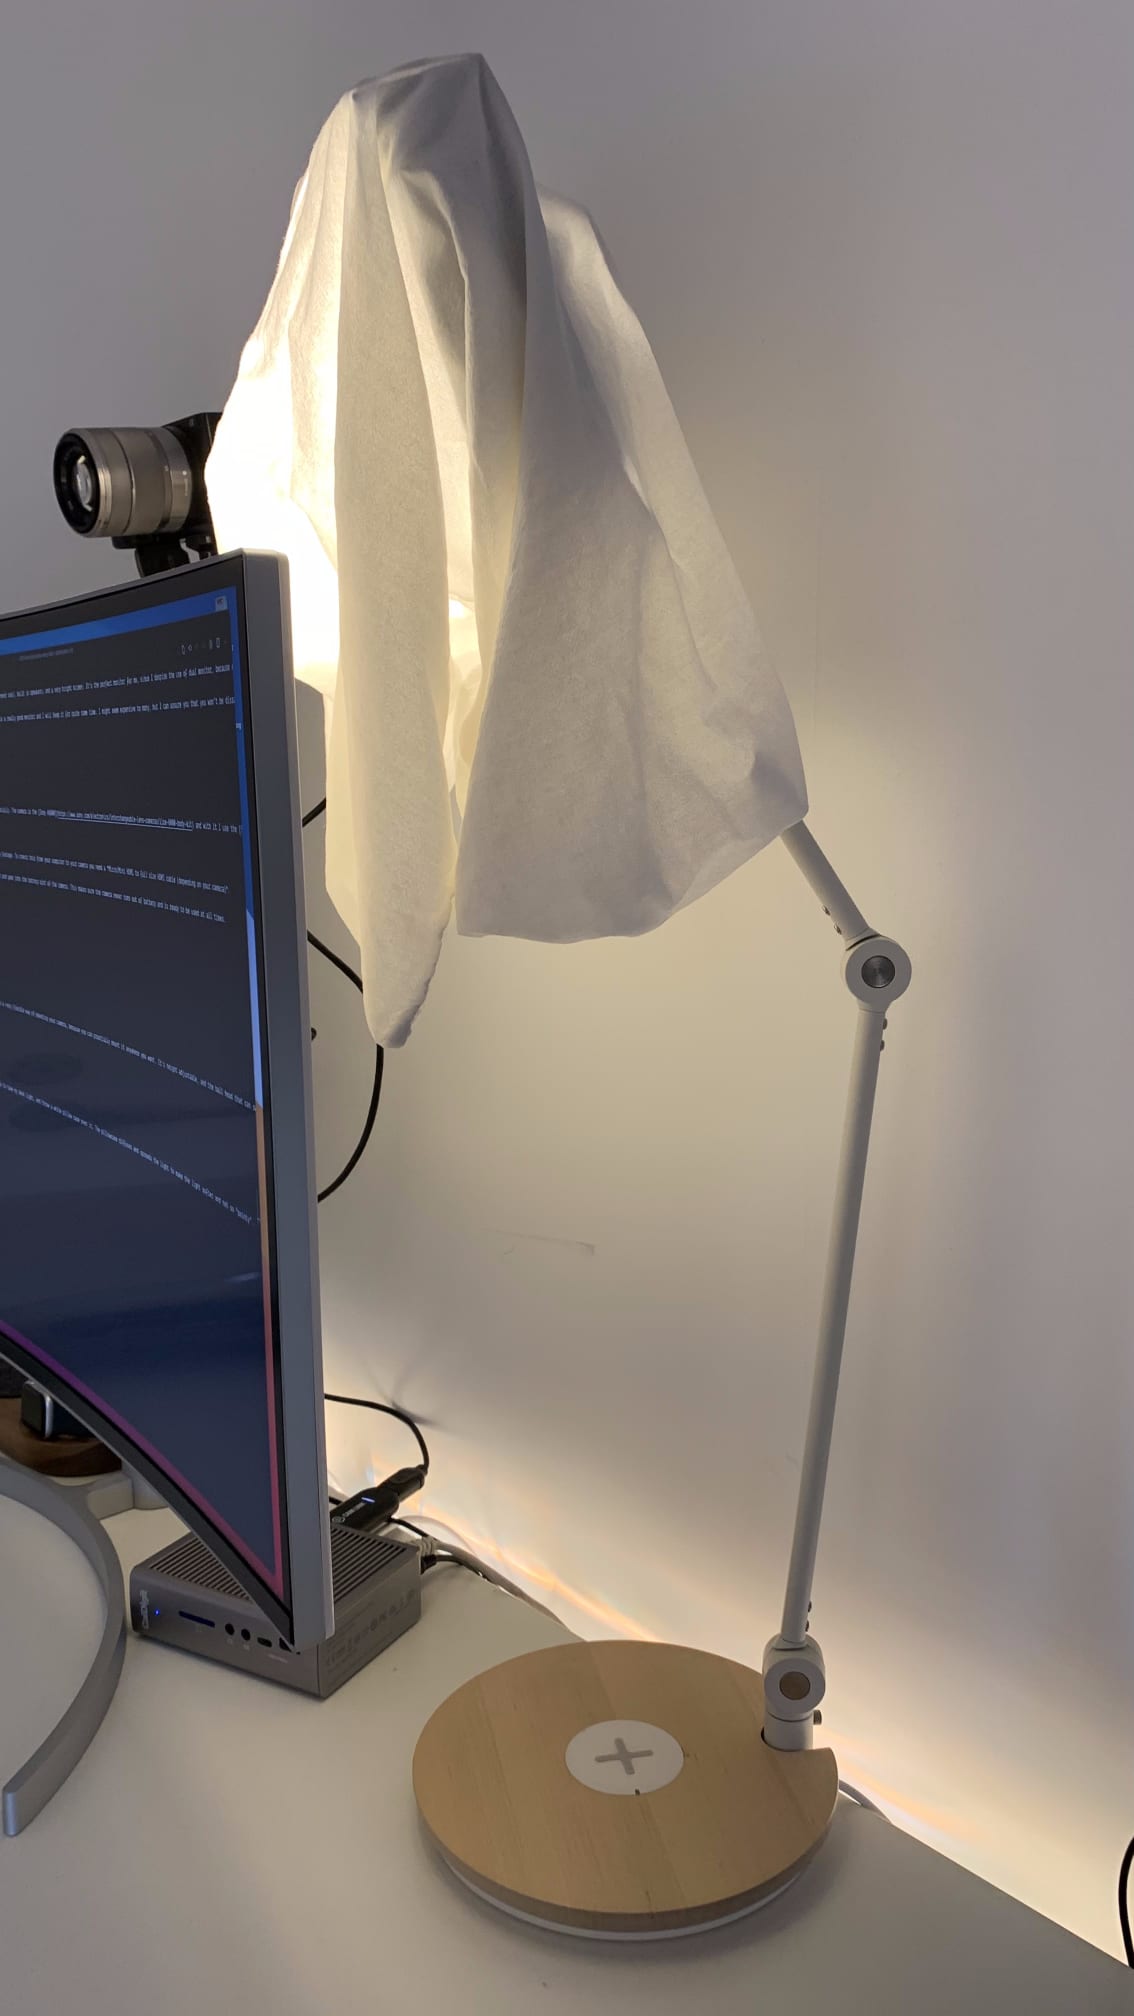
Key light
Having some sort of light makes such a big difference. Without a light your camera won't make such a big different. You could buy a specific light for this use case. What I did, instead of buying a light, was to take my desk light, and throw a white pillow case over it. The pillowcase diffuses and spreads the light to make the light softer and not so "pointy".
--
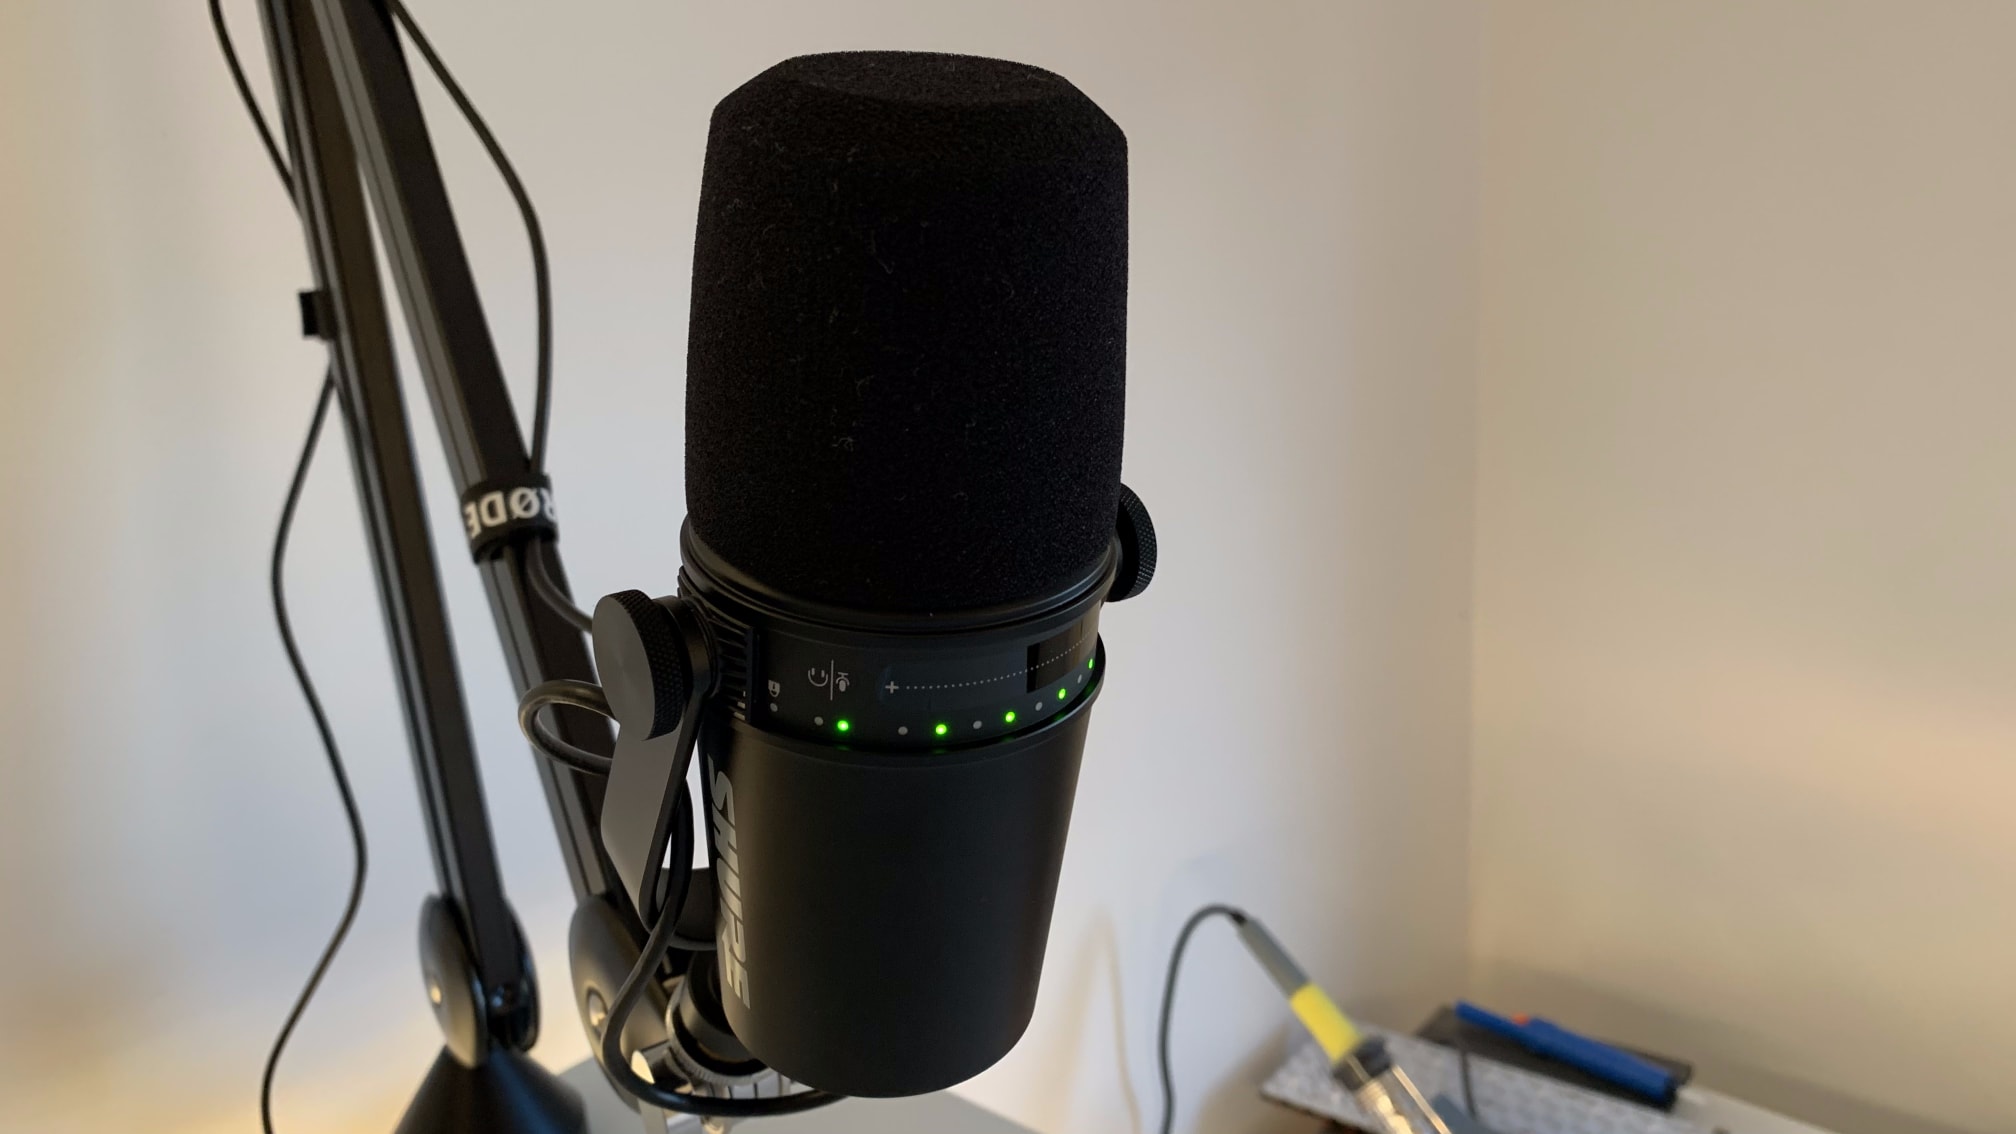
Microphone
I recently updated my audio setup from just using the microphones on my AirPods. I pulled the trigger on the Shure MV7. This is a microphone that plugs directly into the computer using a USB cable. This is a very flexible microphone that I'm looking forward to trying out a lot more in the future.
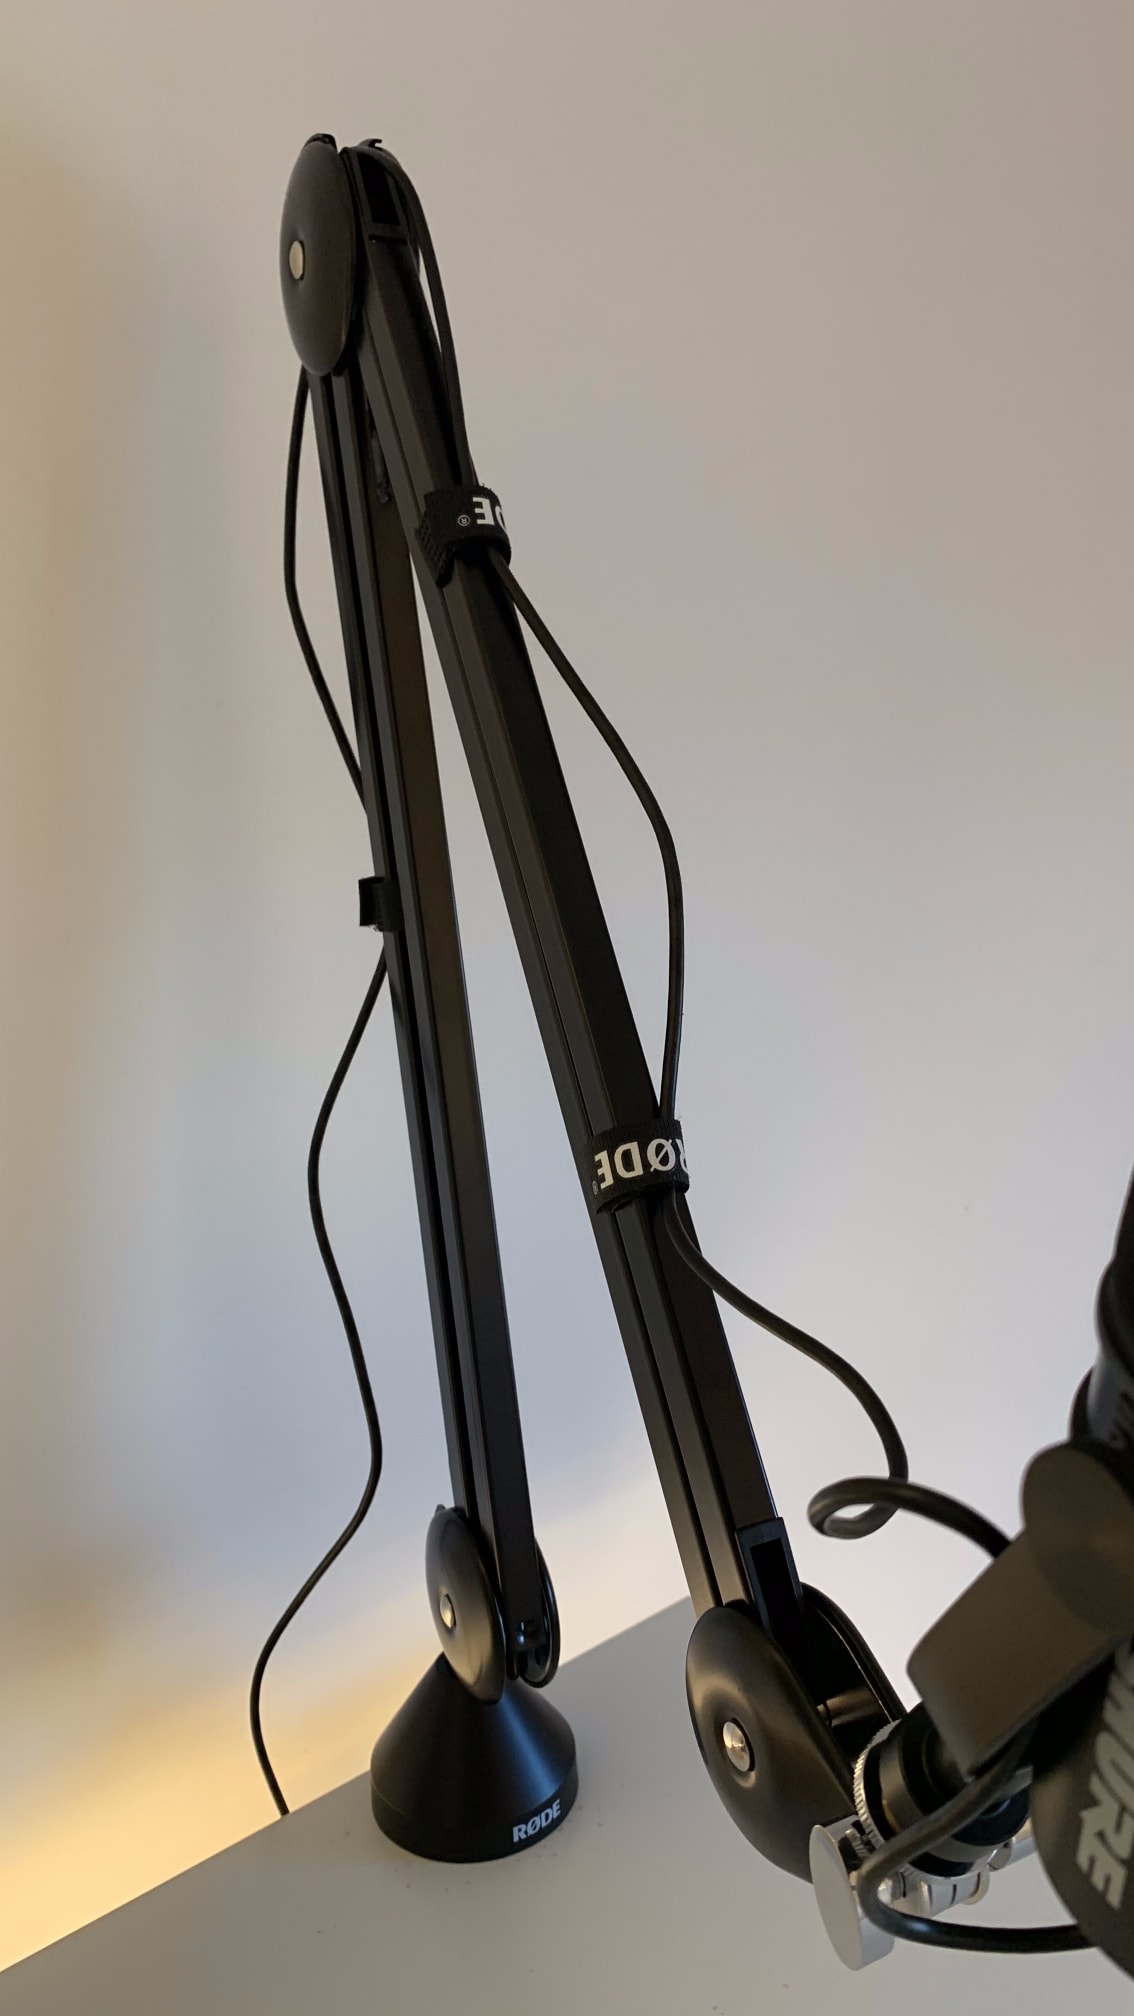
Boom arm
I tried a couple of different boom arms before pulling the trigger on this one. The ones I tried previously where very week and didn't manage to hold the weight of the Shure MV7. The one I use now is the RØDE PSA1 and it works really well. It's very sturdy and can rotate 360 degrees. This one also holds the microphone without any issues.
--
Keyboard
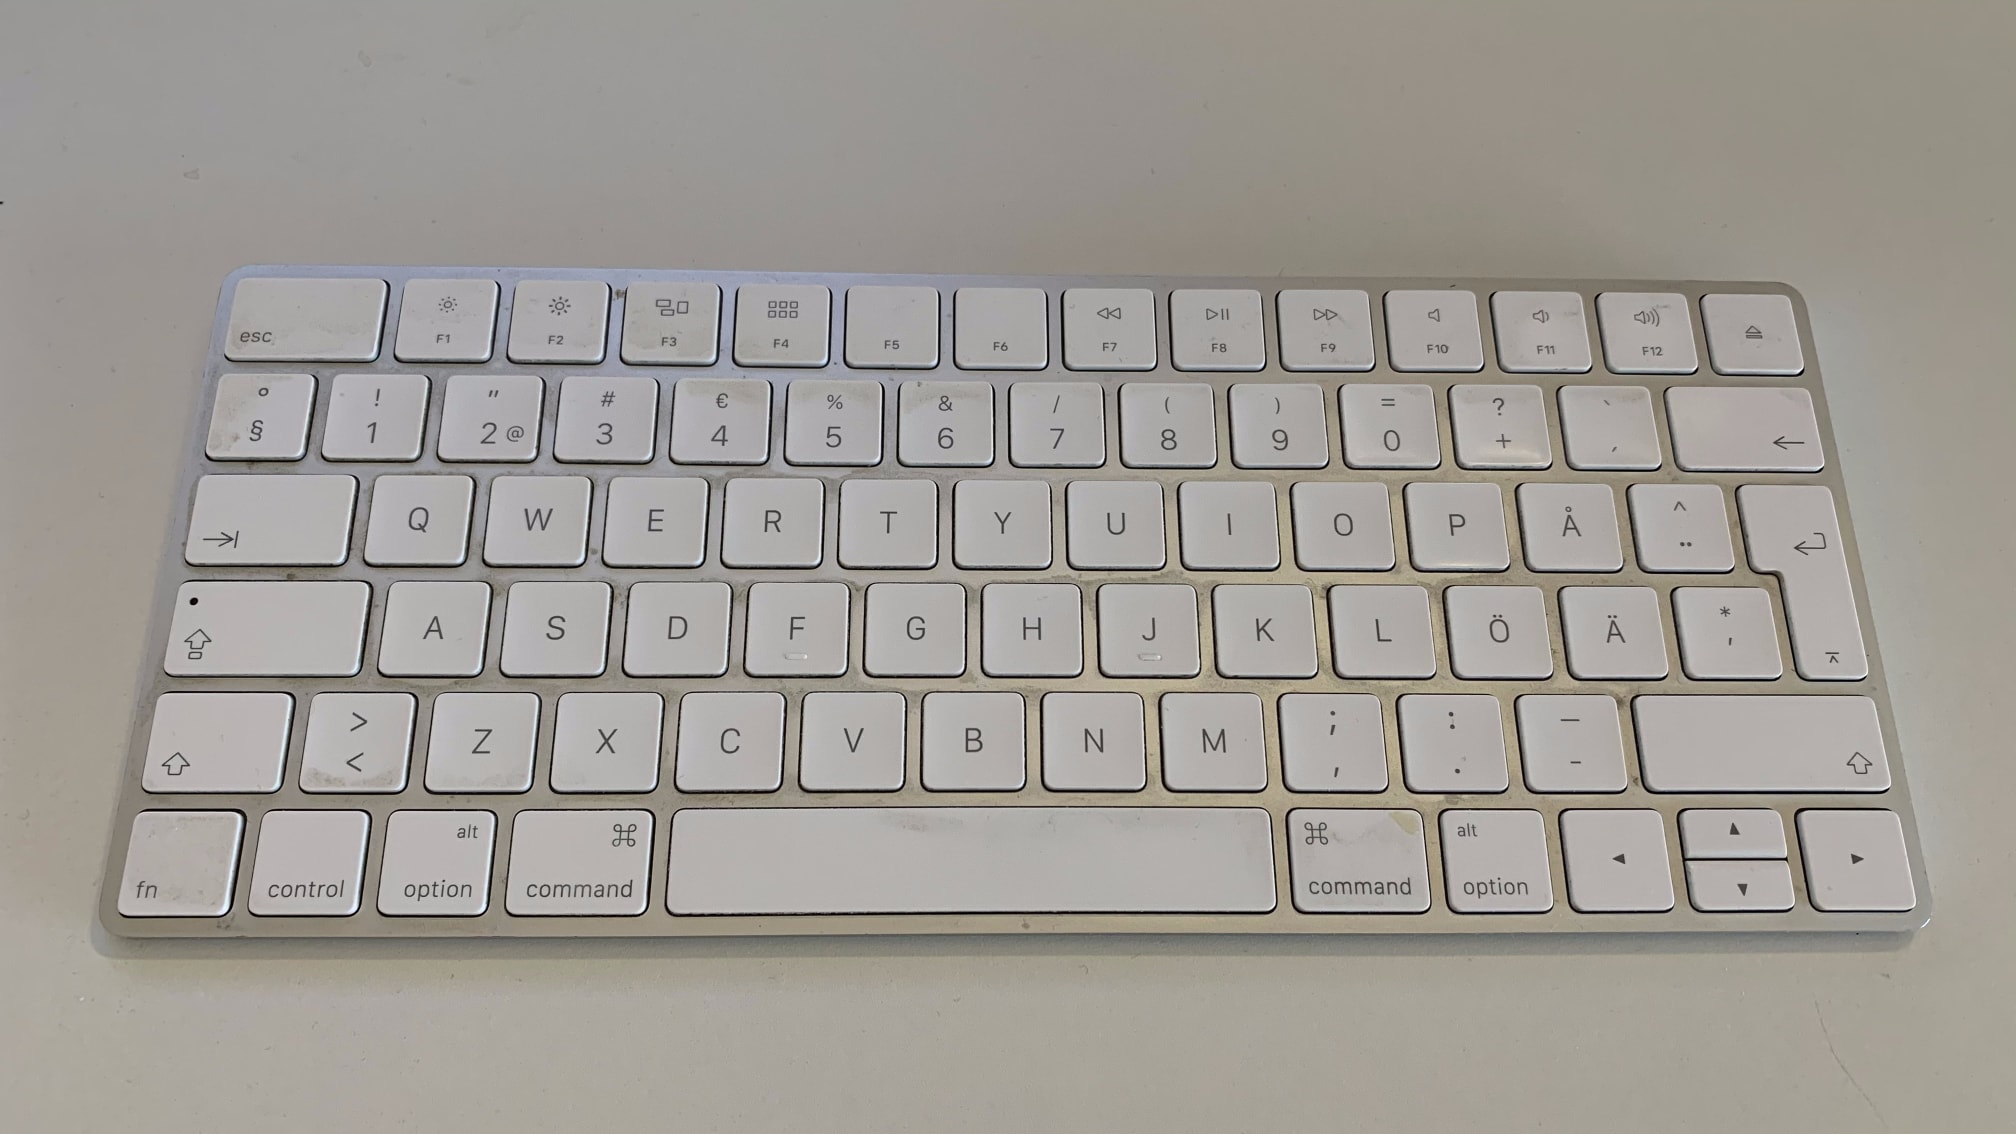
I have tried many different keyboards throughout my days. I used mechanical keyboards for a good while, before I went back to the Apple Magic Keyboard. Although I use this keyboard for now, I tend to switch between my Ultimate Hacking Keyboard and my current keyboard.
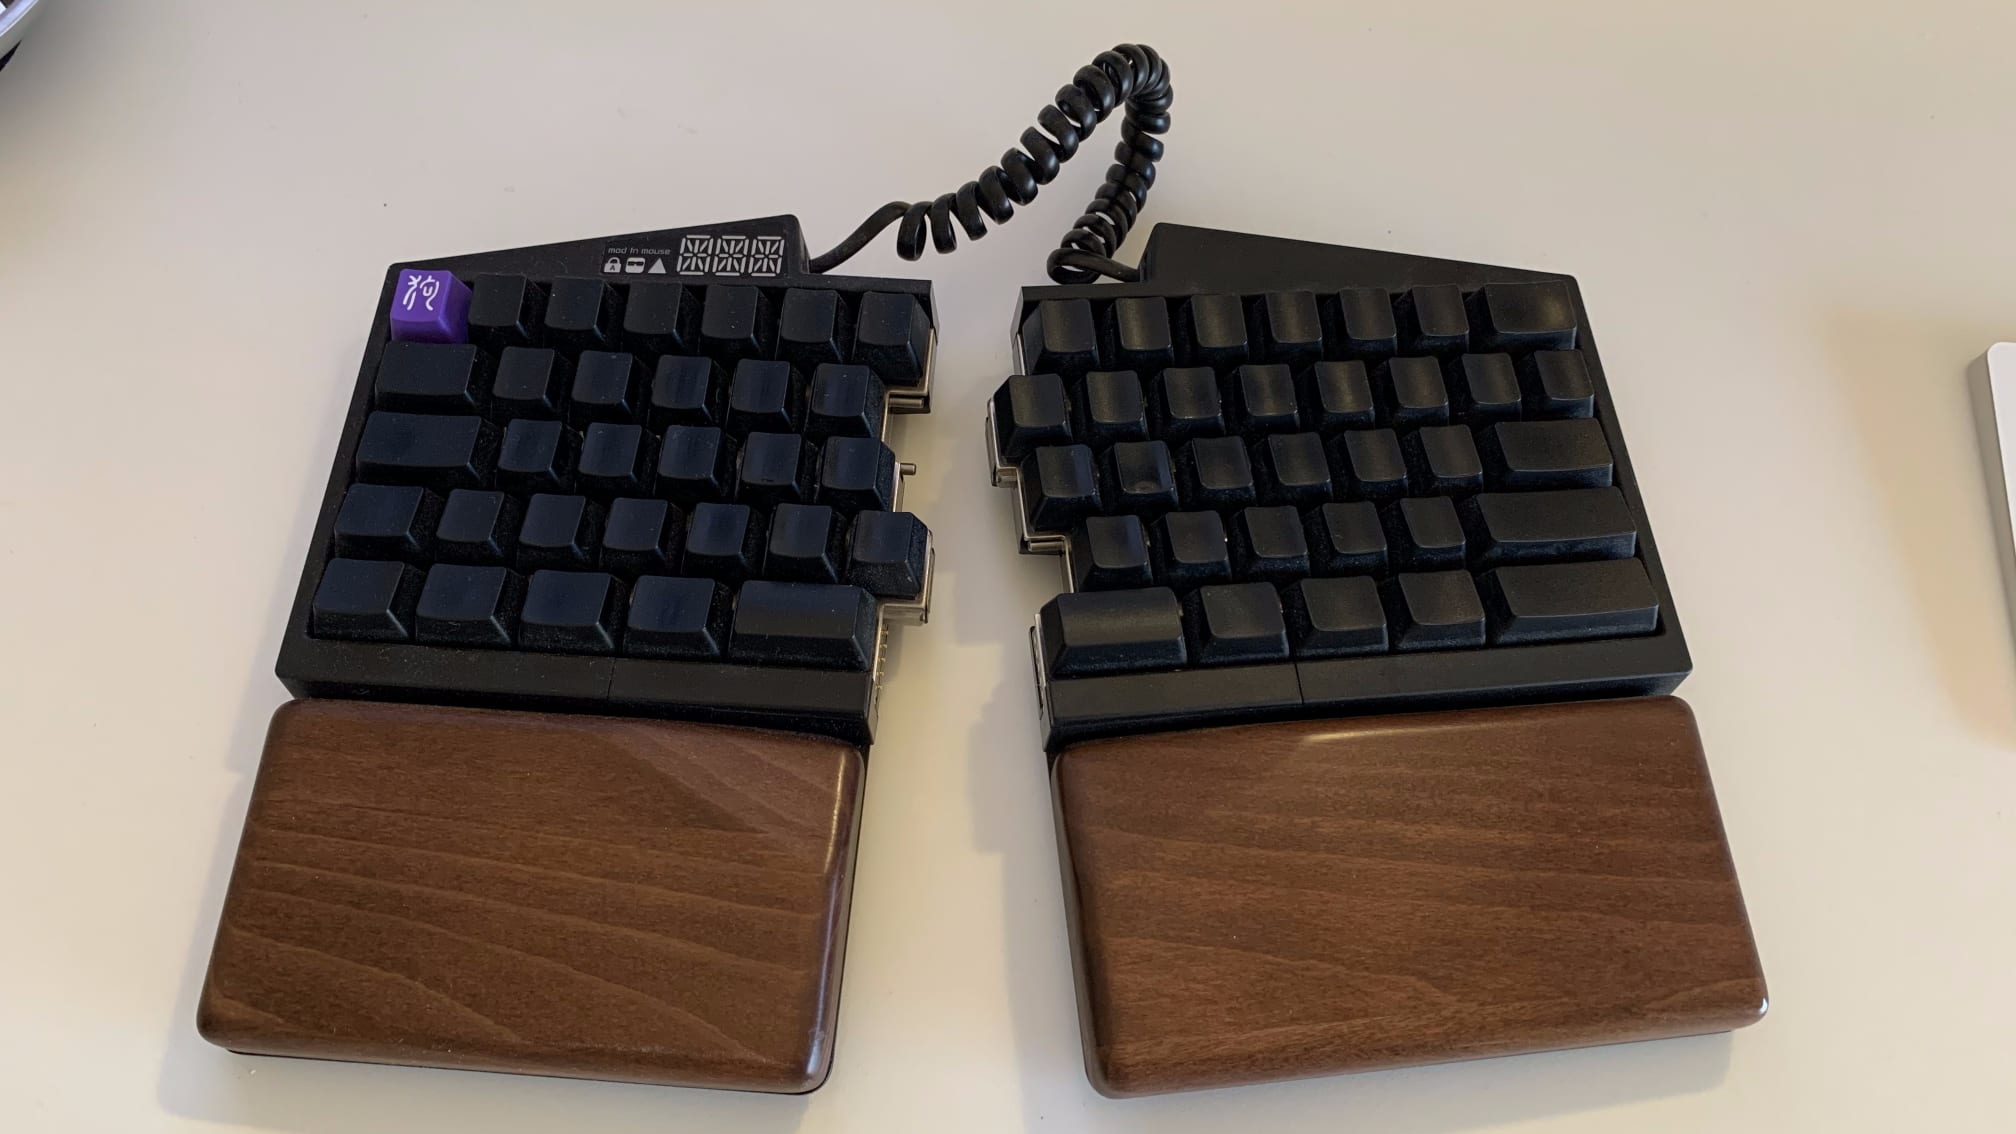
The Ultimate Hacking is a split keyboard developed by a couple of guys in eastern europe. Their goal is to create a mechanical keyboard that is as optimal as possible for developers. It comes with 2 extra clicky buttons, support for several different layers and layouts, and full on-board programmability. I really enjoy using this keyboard. The only downside with this one is that I tend to get wrist pain when using it for longer periods of time.
Mouse
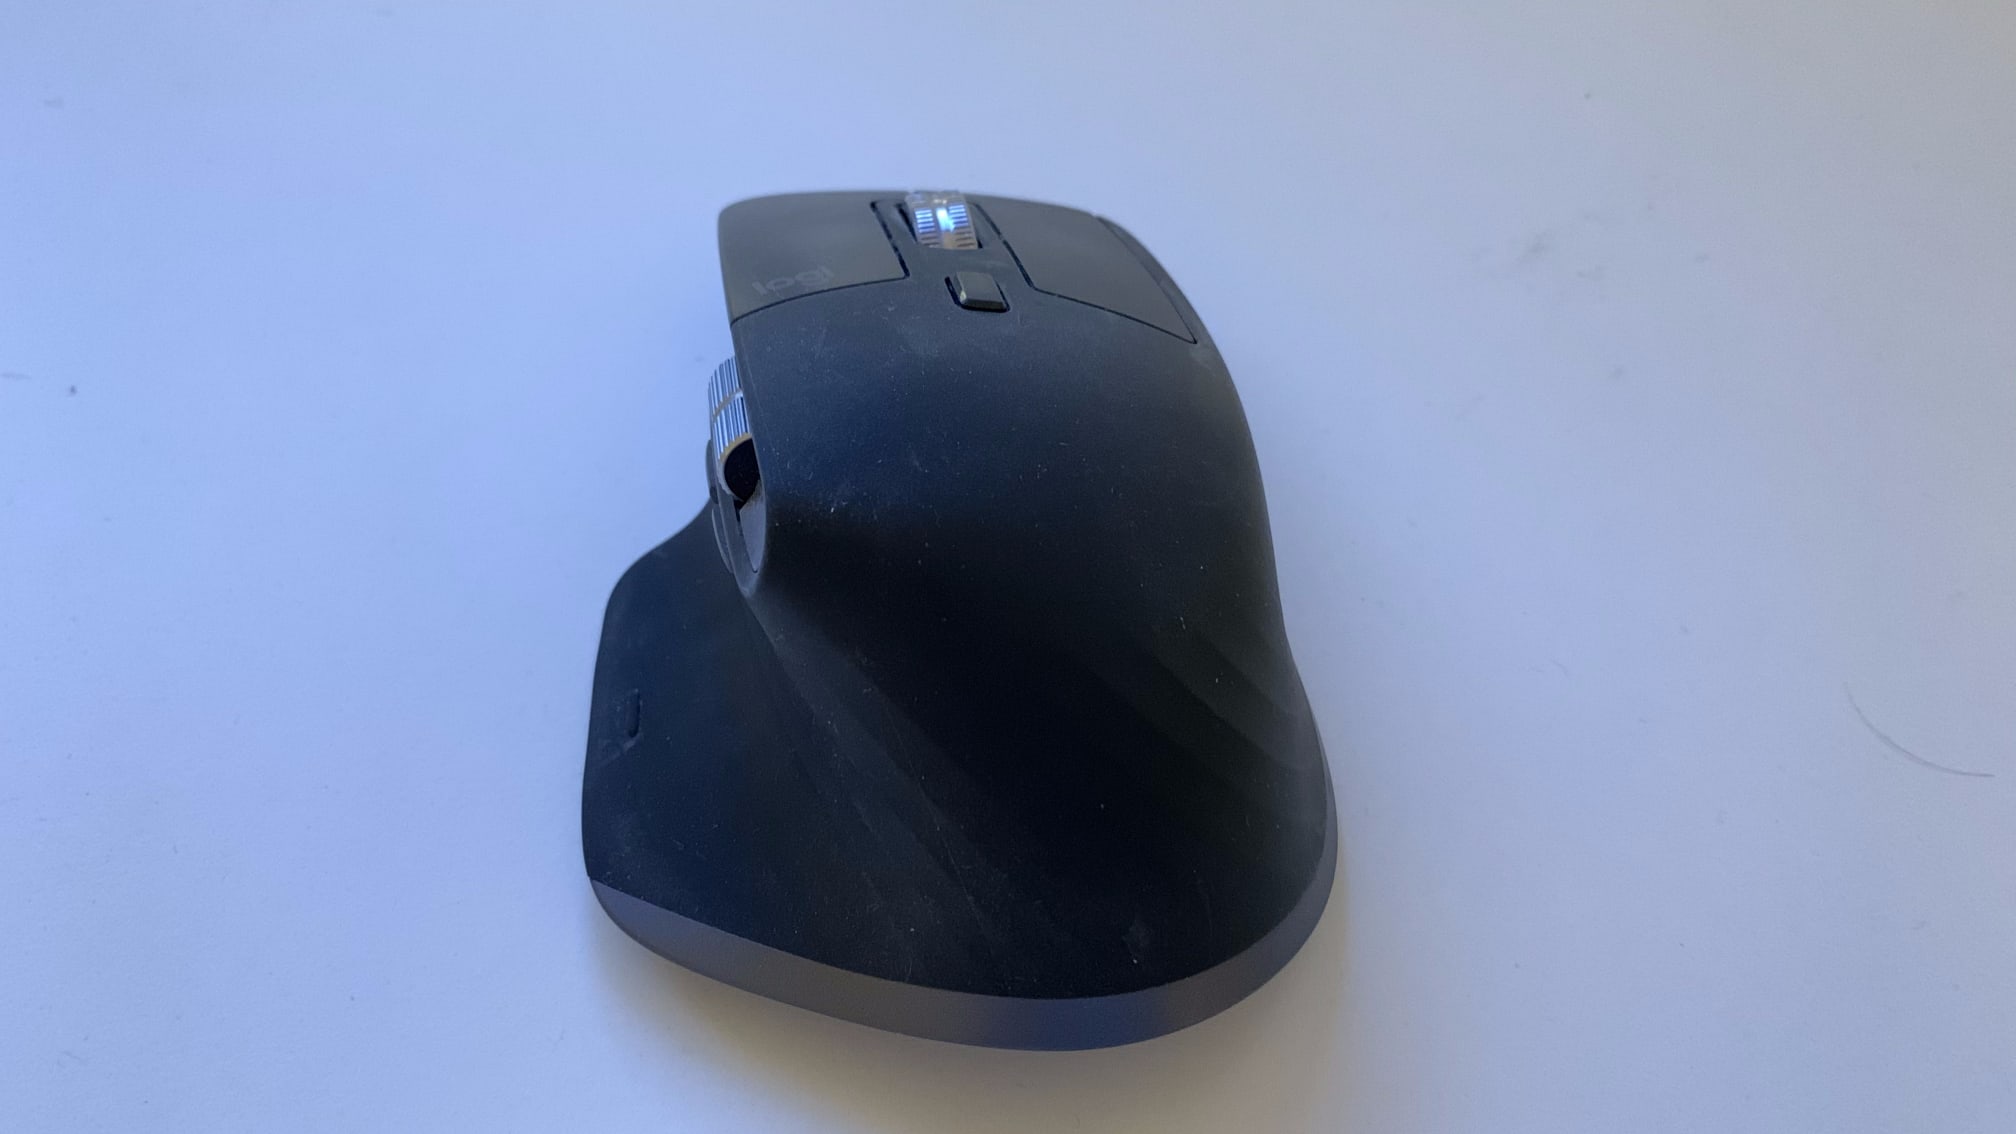
I usually switch between the Logitech MX Master 3 and the Apple Magic trackpad 2. I really enjoy the Logitech because of it fantastic array of extra buttons and knobs to control things like going back and forth in the web browser, zooming windows, and padding desktops. The downside here too is that I can sometime get some wrist pain when using this for longer period of times.
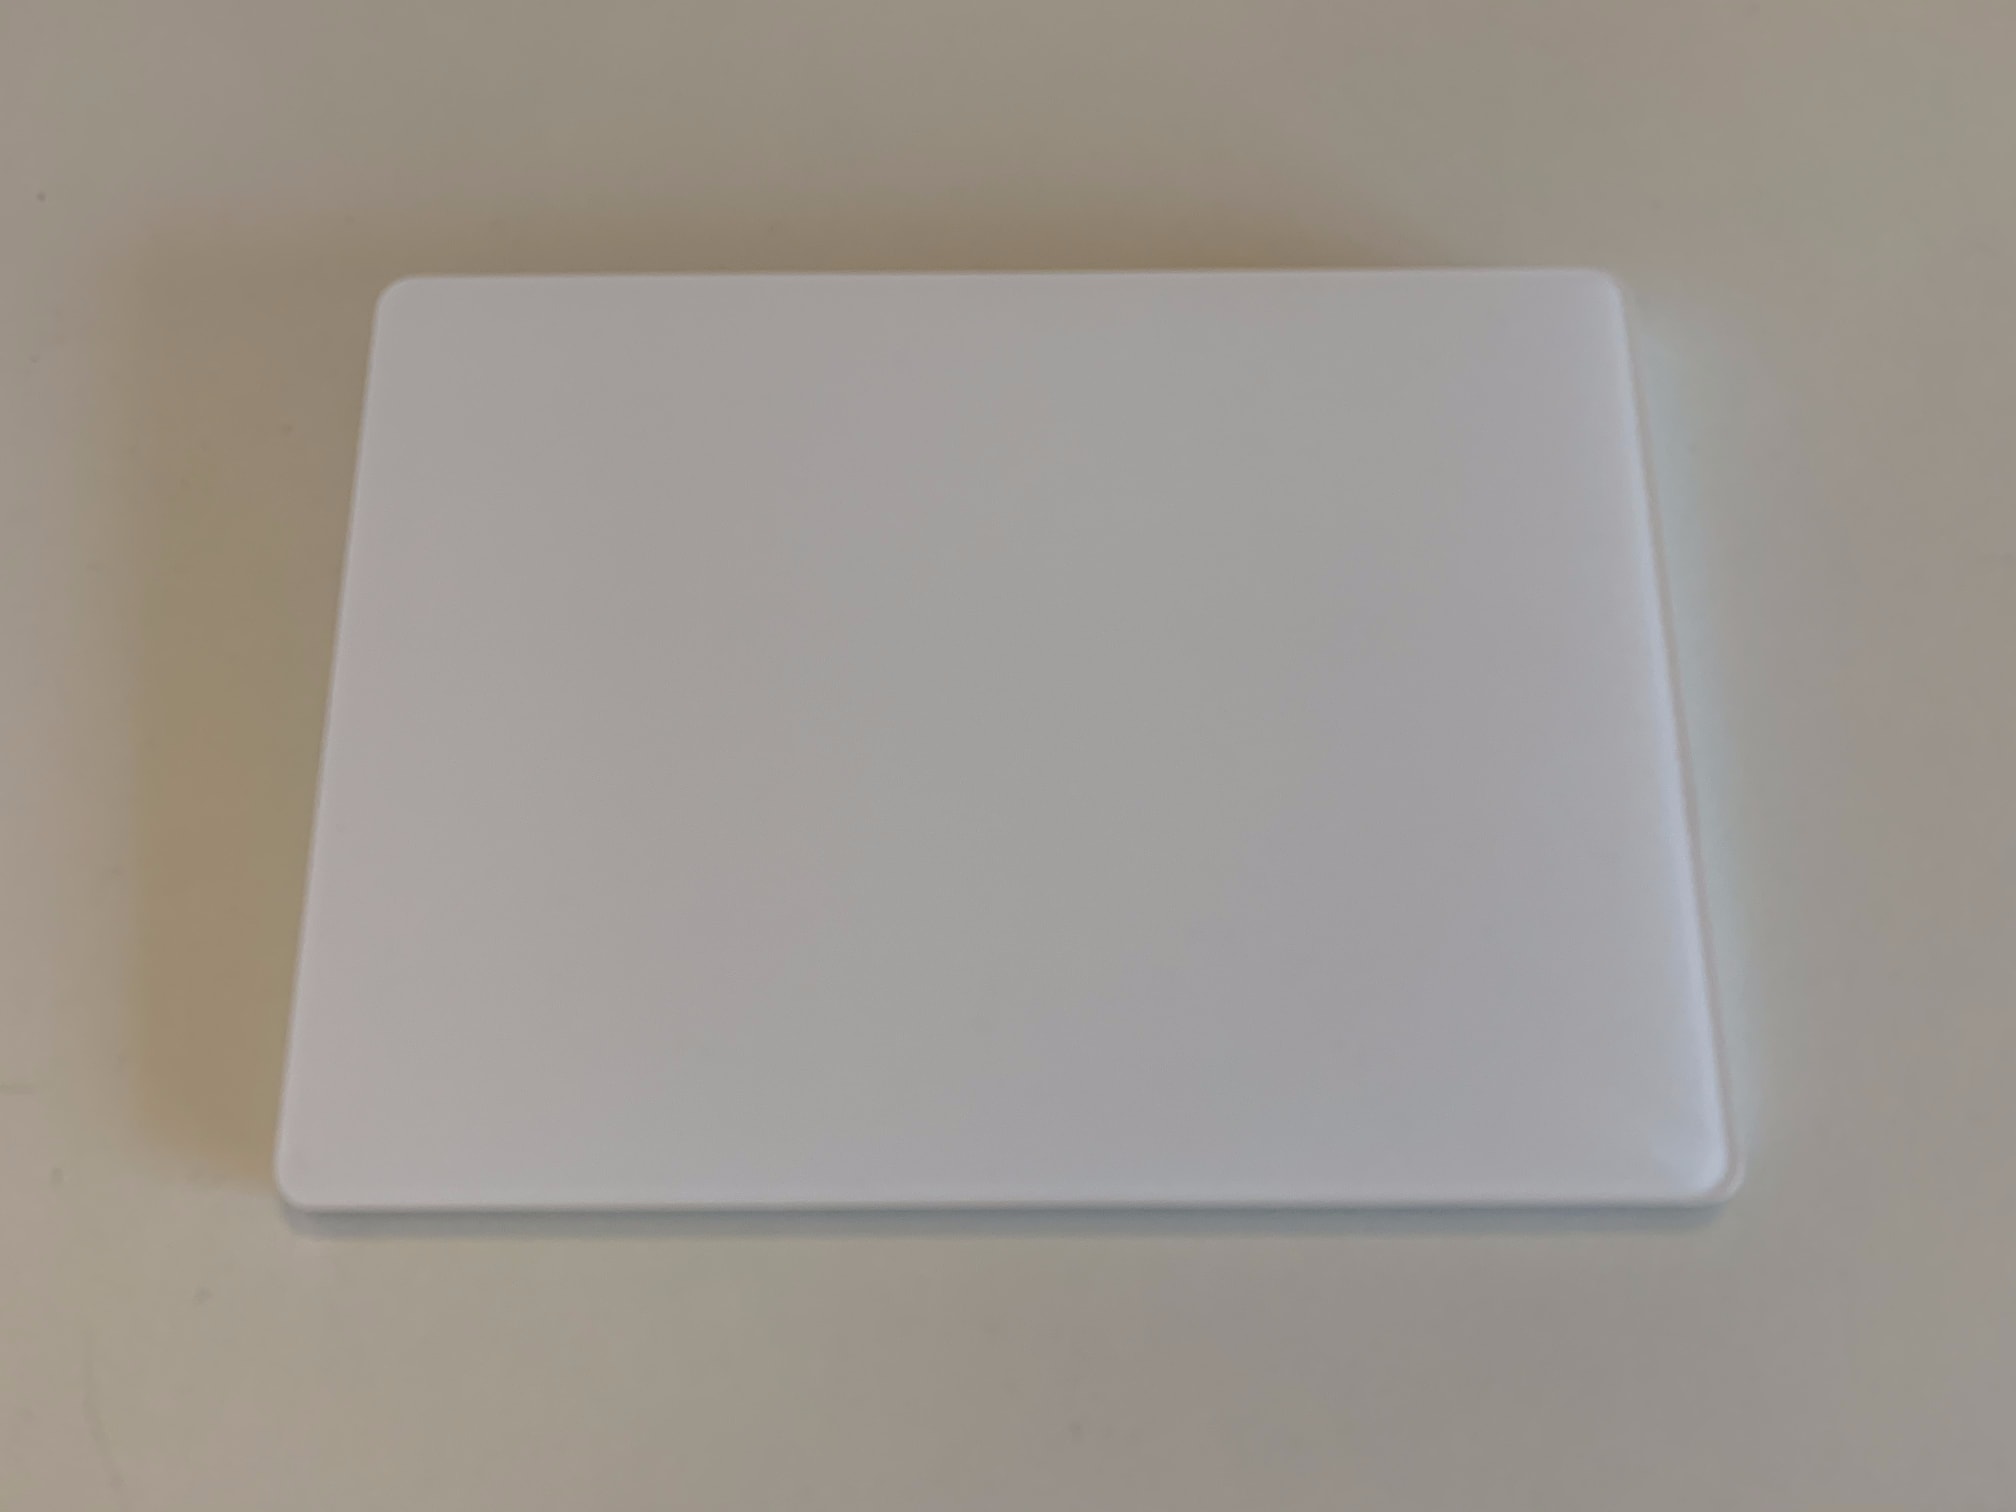
The reason I switch between the Logitech and the Magic Trackpad 2 is because of the reason above. The Magic trackpad relieves me from any sort of wrist pain but lacks the extra buttons and knobs. It is for these reasons that I tend to switch between two from time to time.
Final words
You have now gotten a deep look into my 2021 work from home desk setup. I work as a software developer and enjoy improving my workstation and invest in new, better, tools. Please feel free to get in contact with me if you have any questions about my gear and how I like it. You can email me here or DM me on Twitter here..